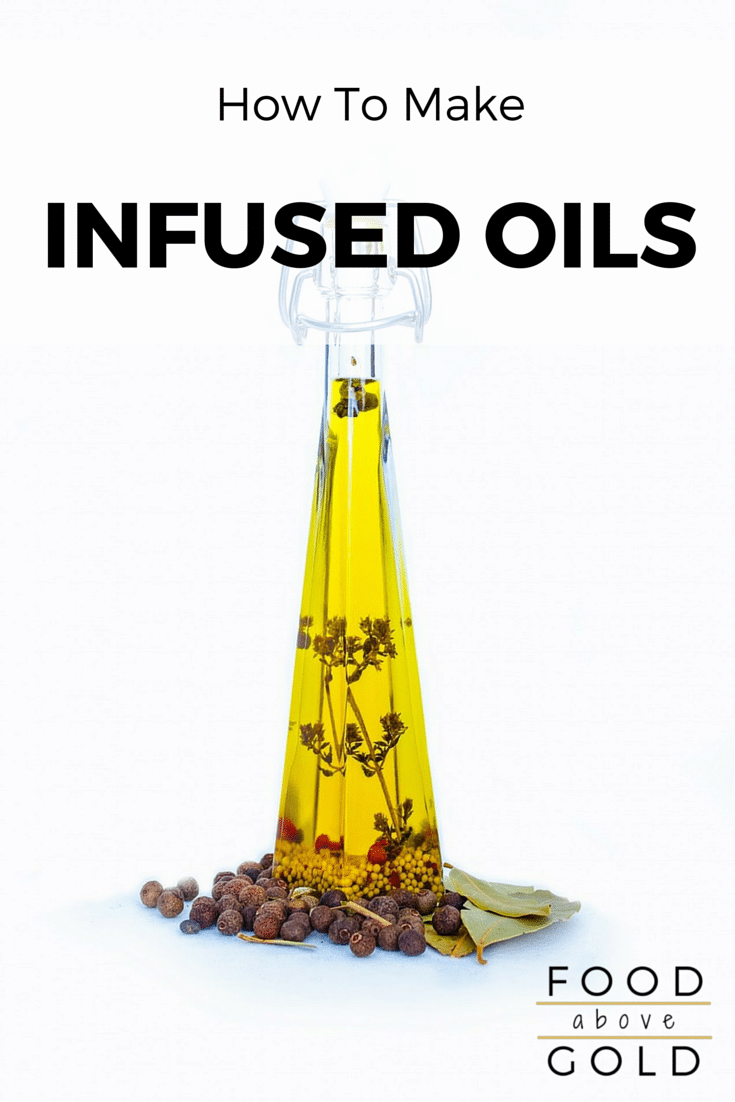
Learn the two different methods for making infused oils, as well as potential health risks, what ingredient will infuse well, and how much of them to use.

Infused oils are a great way to boost the flavor of the food you are making without having to add extra ingredients. For example, in my post about how to roast garlic, I give you a method that is a little bit more like deep-frying than roasting, but at the end it gives you a delicious roasted garlic flavored olive oil. After cooling and straining the garlic out you can then use the oil for things like extra flavor when pan-frying pork chops, making a vinaigrette, a dip for breads or vegetables, or even as a garnish in soups.
What Is An Infused Oil?
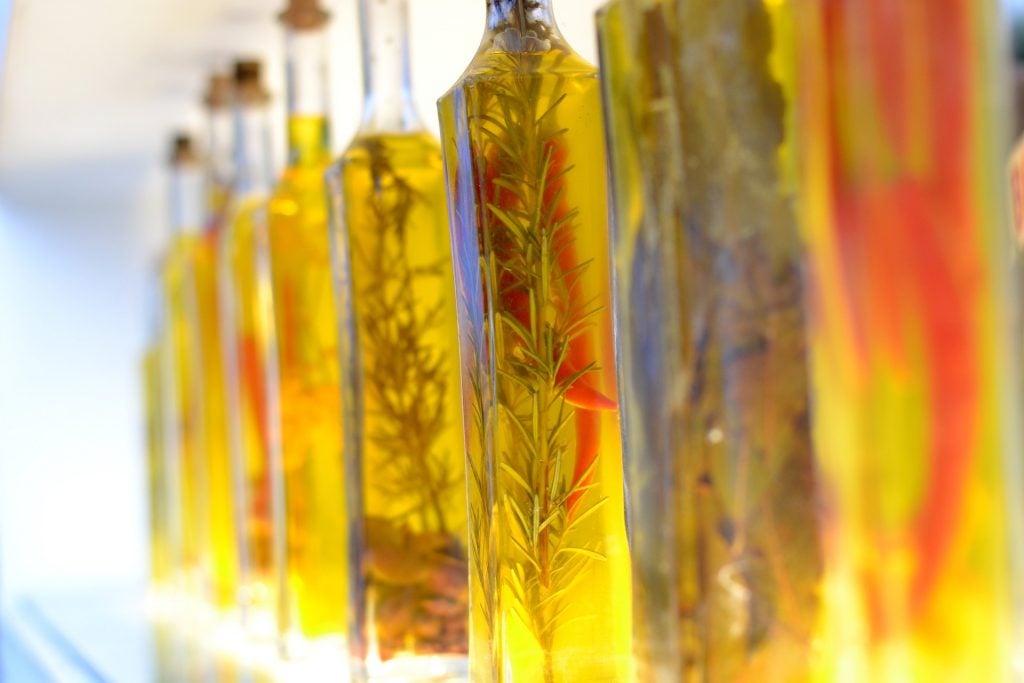
Infused oils are made by manipulating oil so it takes on the flavor of other ingredients.
Some great ingredients to use as flavorings are:
- Garlic, Onion & Ginger : These two are probably some of the more commonly used. Make sure to peel them ahead of time and cut or smash them for the strongest flavor.
- Citrus : Use the rind, not the fruit, and try to avoid getting as much of the pith as possible. If you do happen to get the pith, blanch and shock the peel before adding it to your oil to prevent bitterness
- Chile Peppers : You can use just the flesh to provide great flavor, or you can add the veins and seeds to make the oil spicy as well.
- Spices : You can put them in as-is, or toast them ahead of time, just make sure that you bust them up a little to release their volatile oils before adding them to your infusion.
- Truffle : If you have the dough (or resources) to have truffles to turn into your own truffle oil, send me a message, I want in on that connection! 🙂
- Fresh Herbs : I recommend blending, bruising, or muddling the herbs slightly before adding them to the oil to make sure that their flavor releases nicely into the infusion. For the best color, quickly blanch & shock your herbs before putting them in the oil.
- Nuts : This one isn't done often because many nuts are pressed for oil nowadays and that usually gives a stronger flavor, but a slightly roasted hazelnut oil is beloved in my home. For best results, peel & blanch them (or by them that way) before use.
- Mixes : Make it fun and use a combination of flavorings as well - like lemon & rosemary, or cumin & chile peppers.
What Kind Of Oil To Use
When it comes to choosing an oil for making infused oils, I always recommend that it has the least amount of flavor possible so the infusion can take center stage. The nuances of high-quality or expensive oils will be lost to the infusion, so don't spend too much money on it either. I like to use grapeseed or avocado oil if I plan to use my oil at high heat and olive oil is a great standby.
Even if you choose a high heat oil, you should make sure to avoid using infused oils for deep-frying because residual particles left over in the oil can burn, distort the flavor, and/or cause fire risks.
Food-Borne Illness Concerns?
All ingredients have the ability to spoil or carry food-borne illnesses, and infused oils are no exception. Remember back when we talked about how to buy and store bacon and we discussed having to strain out the solids from the bacon fat because the solids can spoil? It's the same concept. The best way to prevent spoilage in your infused oils is to strain out your ingredients before they begin to go bad.
Botulism is flavorless, odorless, and invisible. It is often only detected after ingestion.
The easiest way to detect most food-borne illnesses is by smell. If there is something about your infused oil that smells a little off, then it is better safe than sorry and throw it out. Botulism, on the other hand is the one you have to watch out for because it usually goes unnoticed. Some ways to detect possible botulism are:
- Bulging seams or swollen lids. If you notice that the lid to your container starts to look like it is being stressed or like air is trying to escape, then there is a probable chance of botulism.
- Rushing air. If you open your container and you hear a rush of air come out, that means that there is backed up pressure, which can be a sign of botulism.
- Clarity. Your oil should be clear, not cloudy. If if starts to turn cloudy, throw it out.
- Leaking. If oil can get out, air can get in. Make sure to take appropriate precautions.
I would like to make sure to note that raw garlic has a higher chance of developing botulism than most ingredients, so make sure to be extra safe when working with it. If you begin to show symptoms of botulism or any other food-borne illnesses, please call a doctor right away. For more information on what the CDC has to say about botulism, go here.

How To Make Infused Oils
There are 3 main ways to make infused oils, and even if you use the same ingredients and ratios in each one, they will each provide a slightly different flavor.
As a rule of thumb, use two tablespoons of your flavoring ingredients for every cup of oil.
Method 1 : Let It Sit
This method is similar to making extract, it uses time rather than heat to flavor the oil. This method is nice because it requires nothing extra from you other than putting the ingredients into a bottle and putting that oil in a dark (and refrigerated, if necessary) place until it is ready to be used. The problem with this method is that there is never an exact timetable. It is different based on every type of ingredient you choose to infuse you oil with. The stronger the flavor of that ingredient (garlic, ginger, chile peppers) the less time it will take, but the milder the taste (chives, coriander, caraway) the more time it may need. This method is great if you want to start planning for Christmas gifts in the summer when many ingredients are in peak season, but may not work for you if you know you'll need it next week.
When straining your oil, make sure to not press on the cheesecloth to prevent getting any small particles into your oil that can go bad.
To make infused oils using this method:
- Wash and completely dry the ingredients.
- In an airtight glass container, combine the oil and infusion ingredients together. Gently stir them, seal the container, and store the infused oil in a dark, cool place for around 2 weeks, or until the flavor has permeated the oil to your liking.
- Strain out the solids using a cheesecloth and store for up to one month (maybe a little longer if refrigerated). If you choose to refrigerate your oil, remove it from the fridge and let it sit at room-temperature for 30 minutes prior to using.
Method 2 : Turn Up The Heat
The second method for making your own infused oils is to do it with heat. This is definitely the quicker method, but it can give you a slightly different flavor profile from the raw version. This method also helps reduce the risk of food-borne illness because it kills off potentially harmful bacteria during heating. If you choose this method, I recommend staying away from high-quality oils, or oils with specific flavor profiles because heating it can distort those nuances.
To make infused oils using this method:
- Wash and completely dry your flavorings and cut, trim, or break them up in anyway you like.
- Place your flavorings in a small sauce pot with your oil and bring it up to the top of the poaching temperature range, 180°F.
- Maintain the heat at this temperature for 2-5 minutes, shut off the heat and let the oil cool completely.
- Strain out the flavorings using a cheesecloth and store the oil in an airtight glass container in a cool, dark place for up to one month. If you choose to refrigerate your oil, remove it from the fridge and let it sit at room-temperature for 30 minutes prior to using.
Straining your infused oil while still hot may help prevent cloudiness, but letting the ingredients sit in the oil until cooled will provide a stronger flavor.
You can also achieve this method in the oven (like with the roasted garlic I mentioned at the beginning) by placing your ingredients into an oven safe container, and placing them in a preheated oven set at 180°F (or it's lowest setting) for about 10 minutes. It takes a little longer in the oven to get the oil heated all the way through than the stovetop, but it allows for you to do other stuff while it's infusing
Thanks so much for stopping by, I hope that you found this post helpful!
What is your favorite infused oil flavor to make? Do you have any tips for making infused oils? Let's talk about it in the comments, or show me on social media - @foodabovegold. Make sure to tag it #CallMeMichelin so everyone can see you mad skills!
Happy Cooking! 🙂


lalaine says
I can just imagine the flavor and aroma boosts these infused oils will bring to my homecooking. Thanks for sharing such an informative post. 🙂
Mackenzie Ryan says
I'm glad you enjoyed it Lalaine! Let me know what kind of fun oils you use this post to make!
Renz says
Oooh. Love love love this post. Definitely going to be trying some concoctions. Thanks for posting this guide. Pinning!!
Mackenzie Ryan says
I'm glad you enjoyed it! Thanks for stopping by! 🙂