Make the ultimate homemade frozen treat by mastering how to make a custard ice cream base. Plus, the best vanilla frozen custard recipe, and a recovery hack for if the base curdles!
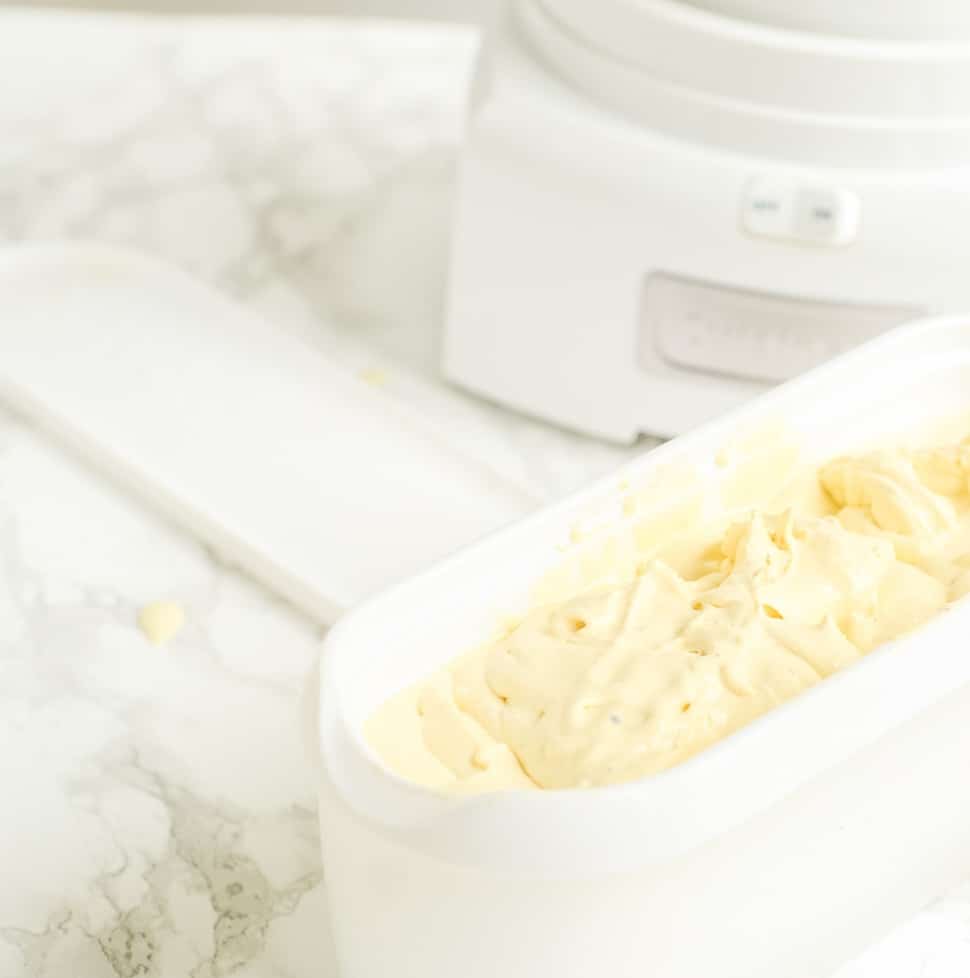
Let’s be honest from the beginning: making custard ice cream is time consuming. The results, however, are proof of the difficult work.
You get a creamy, dreamy, luxuriously smooth ice cream that begs to be eaten. It calls to you in your dream and whisks you away to pleasant places during the day. But more than anything, it tempts you to make poor choices about portion size.
What Is The Difference Between Frozen Custard and Ice Cream?
Custard and ice cream are made of the same three basic ingredients: milk, sugar, and cream. The difference between the two is that custard also has cooked egg yolks in it that provides a silkier texture. Depending on the recipe, standard ice cream may not be churned in an ice cream maker while custard always is.
Custard gives you the classic texture reminiscent of old fashioned ice cream; super smooth, thick, and decadent. Whether you’re making something fancy, or a classic vanilla ice cream recipe, a custard base gives you the best result! Plus, as an added bonus, custard ice creams don’t get freezer burnt as easily. This is because the water particles are fewer and smaller and the eggs work as an emulsifier to contain the water.
When To Use Frozen Custard
I would say that more than anything, it comes down to what kind of ice cream you’re making. The more luxurious and indulgent, the more likely to use custard.
Think of elegant or regal flavors that the custard will help bring out.
- vanilla bean
- dark chocolate
- dulce de leche
- salted caramel
- white chocolate.
It’s also nice to use a custard base when you’re adding in flavors with a high amount of water. ( Peach, mango, or lemon for example.) The egg yolks help capture the water and make the ice cream less watery.
Using a Double Boiler
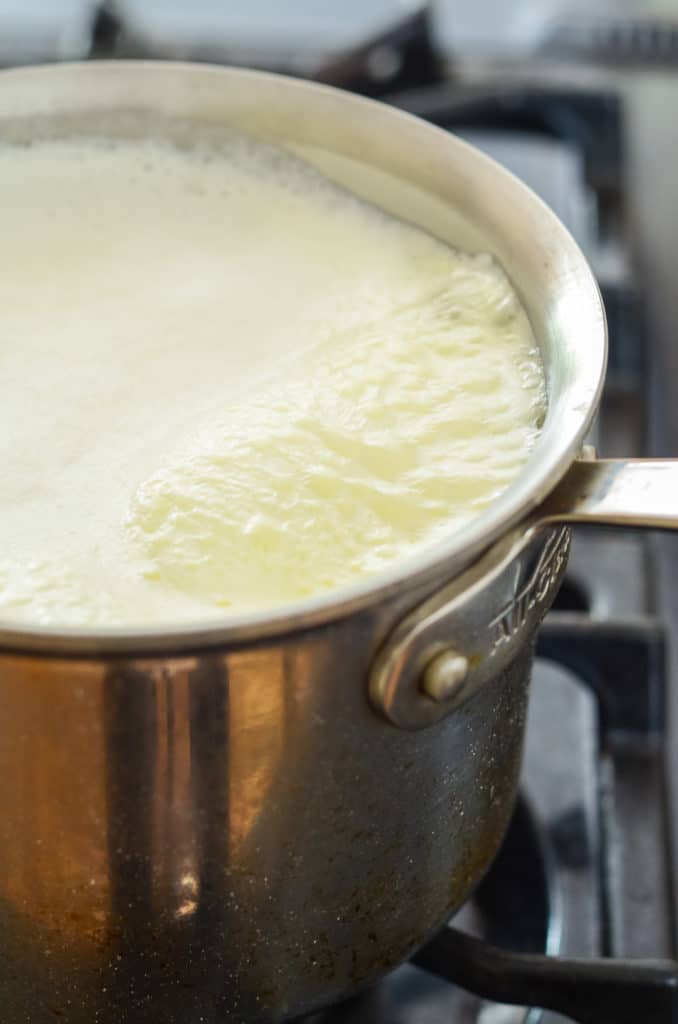
You don't have to own a fancy double boiler to make custard ice cream at home. A simple deep pot or saucepan with a glass bowl that fits tightly on top will do. (Avoid using a metal bowl, as it can discolor the egg yolks and make your ice cream dingy.)
The purpose of the double boiler is to cook the egg yolks without turning them into breakfast food. This is done by using trapped steam between the bowl and a small amount of water in the heavy saucepan.
If you're new to using a double boiler, I recommend medium low heat. If the water begins to go above a light simmer, you run the risk over overcooking the eggs. Again, this is a little time consuming, but it is so rewarding.
You only need an inch or two of water in the pot. Once the water is to the light simmer, your double boiler is ready to use.
Unlike some other recipes, this one uses the scalded milk mixture to begin cooking the eggs. This is called tempering. By slowly adding in the heated liquid, it begins the cooking process at a slow rate. Once it is all incorporated, the large bowl can be placed over the simmering water.
For the best results when using a double boiler, I recommend whisking constantly. However, there is a catch. As you whisk, it pushes the custard up onto the side of the bowl which cooks it. Whisk slowly and purposely to prevent this.
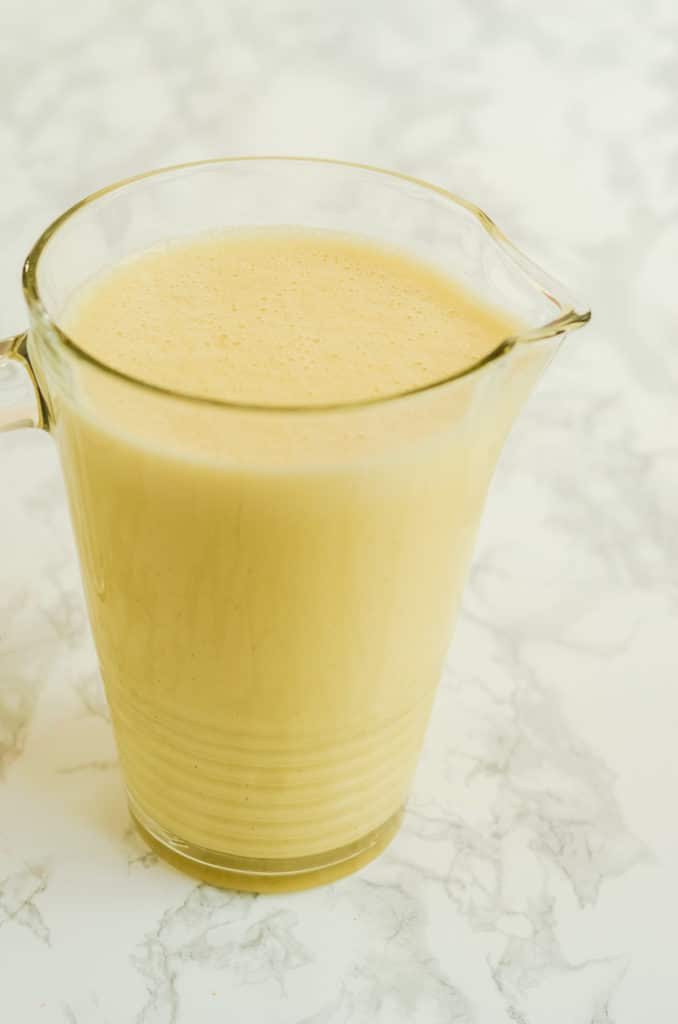
Once your custard ice cream base is cooked, remove the bowl from the heat. Stop the cooking process by adding in the cold cream and vanilla, stirring occasionally to help it cool. Now you're ready to strain the homemade ice cream, cover it with plastic wrap, and chill overnight.
How To Recover Curdled Custard
Temperature control is key when preparing custard. There is a fine line between silky custard and scrambled eggs.
Tip: keeping a well-calibrated thermometer in the bowl at all times helps this. (You can double check the calibration by putting the thermometer in a glass of ice water. It should read 32°F.)
As soon as the temperature hits 160°F, shut off the heat and remove from the heat. If you let your custard base rest over the burner, the residual heat can take your base over that fine line.
If the unexpected happens and the eggs end up scrambled, all hope is not lost. I have a recovery hack that works excellently every single time.
To recover a curdled custard ice cream base cool the custard to room temperature. Place it in a blender and blend on medium-high for 15-30 seconds or until it is once again smooth.
Blending your curdled ice cream base breaks down the egg into teeny-tiny pieces so it won’t impact the texture. The ice cream may taste bit more “eggy” than if it hadn’t curdled. But nine times out of ten no one notices.
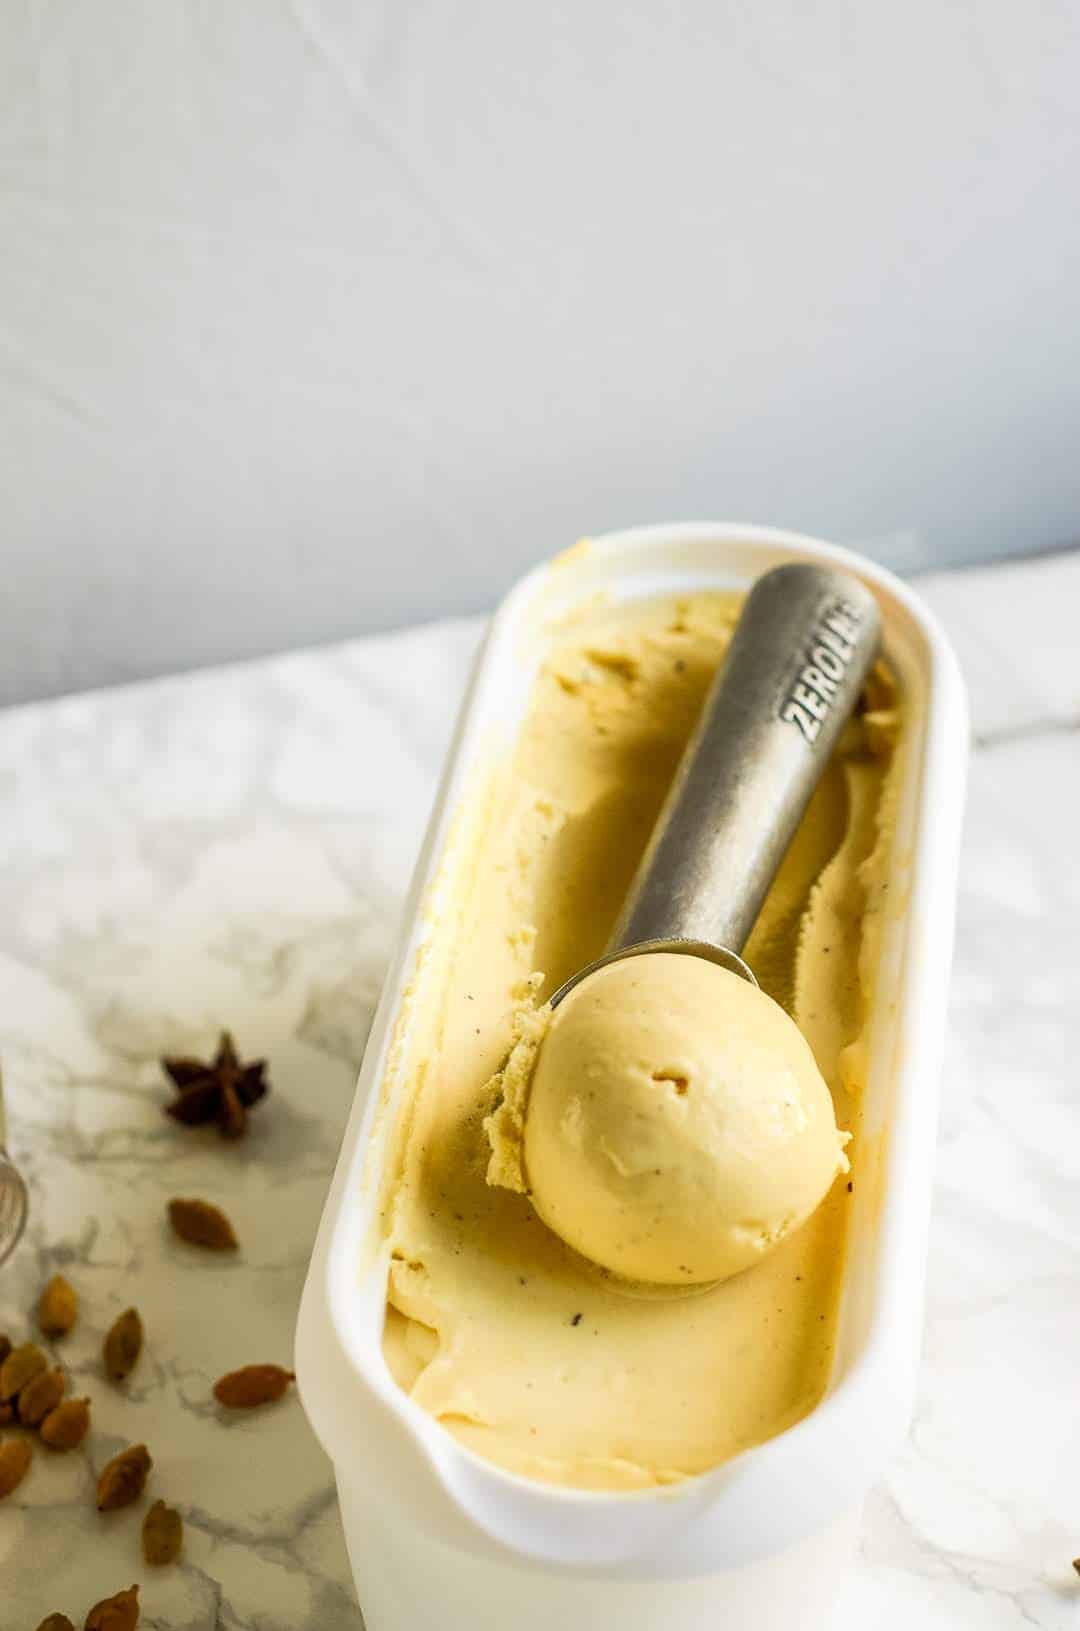
The Best Vanilla Custard Ice Cream Recipe
This is absolutely my favorite way to make custard ice cream. A lot of recipes tell you to cook the base directly in the pot. This recipe doesn't because the double boiler provides fine-tuned temperature control.
Using a double boiler gives you more temperature regulation since the base isn’t directly touching a heat source. It also gives you more ice cream at the end because less sticks to the pot.
If you would like to heat it up in a pot instead of the double boiler, no problem. I do still recommend adding the chilled heavy cream at the end to stop the cooking. This ensures your residual heat doesn’t overcook your base.
Use this printable grocery list for homemade vanilla frozen custard to make shopping simpler. All ingredients are listed in standard grocery store amounts. If no size is specified, even the smallest package will provide more than enough.
Thanks so much for stopping by!
Happy Cooking! 🙂
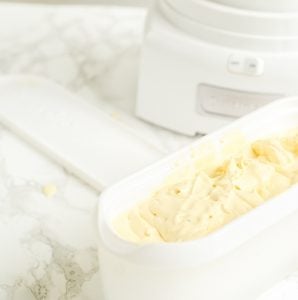
Homemade Custard Ice Cream
Ingredients
- 6 egg yolks
- ¾ cup granulated sugar
- 2 cups whole milk
- 1 cup heavy cream
- ½ teaspoon salt
- 1 teaspoon pure vanilla extract or vanilla bean paste, (optional)
Instructions
- Combine the egg yolks, sugar, and salt in a bowl. Whip the mixture until it becomes thick and the color turns a light yellow.
- Scald the milk in a pot, then gradually beat it into the egg mixture. If you add in too much too soon in will scramble your eggs. Take your time.
- Place the bowl over a water bath or double boiler*. Continue to heat, sitrring constantly, until the mixture is thick enough to coat the back of a spoon. (Or 160°F.)
- Immediately stir in the cold cream to stop the cooking. Add the vanilla if using.
- Chill the mixture for at least 12 hours, then freeze in an ice cream maker according to the manufacturer's directions.
- Place the ice cream in the freezer and freeze for 4 hours for a consistency similar to soft serve, or 12 hours for old-fashioned.
Notes
- If you are using a container of heavy cream that has previously been opened, make sure to scald and cool it prior to use. This will help reduce the risk of food-borne illness.
- To make a double boiler, you need a pot that can hold a bowl on top that is large enough to hold your custard base. Fill the pot with a couple inches of water, but not enough to touch the bottom of the bowl. Bring the water to a simmer and let the steam cook the contents of the bowl.
- If you add the cold cream and vanilla at the same time, the heat from the custard base will cook out some of the impact of the vanilla. For the biggest flavor impact, add the vanilla at the end.



Zachary says
I used this recipe exactly for my first time using my kitchen aid stand mixer ice cream maker attachment but it didn't seem to fill the bowl of the maker more than half full. Should I have doubled the recipe? My ice cream maker is a 2 quart model. By the way the taste was wonderful.
Mackenzie Ryan says
Hi Zachary! I'm so glad you like the taste, and using a KitchenAid is so much fun. Yes, in the future double the recipe if you want to fill it; this recipe makes one quart of ice cream. Have fun!
betty says
hi there, I made this frozen custard and added some espresso powder. It was deliciously creamy and wonderful. I will use this as a base for many more flavors! Thank you for posting such a good recipe and your step by step instructions! I cant wait to make another batch.
Jessica says
I don’t have an ice cream maker. Would a custard recipe still work for me?
Mackenzie Ryan says
Hi Jessica!
Yes you can, but because of the density of custard it's takes some patience. I recommend filling a large bowl with a LOT of ice. Then stick a frozen bowl for "churning" on top of the ice. Place the custard base inside of the inner bowl and use a whisk to stir it constantly and emulate the churning. Do this for about 15 minutes, or until there is a decent amount of resistance agains your whisk. You should feel it thicken and freeze as you churn.
Hope this helps! Best of luck!
Audrey says
I have a question, I cooked my mixture to 160 degrees because that’s what it said in the directions. But now I look at the longer directions at the top of the recipe and it says 180 degrees. Which is it? Did I mess up?
Mackenzie Ryan says
Oh goodness Audrey, I'm so sorry. 160°F is correct, so your custard should be safe! I'm going in to fix the error right now! Let me know how it turns out!
Audrey says
Oh thank goodness it was 160 since that’s what I did! It came out soooo good! I’m going to do a chocolate version next. Lovely recipe that I will make again and again.
April says
I want to try this with chocolate. Can you share what you add and when for your chocolate custard ice cream.
Mackenzie Ryan says
Hi April!
There are two ways you can make this a chocolate base.
The first is to use cocoa powder, which can just be churned into the base at the very end. Just make sure to sift it first so you don't end up with chunks. I would say start with 1/3 cup and add more as desired.
The second is to melt chocolate chips or couverture with heavy cream to make a chocolate sauce. (Similar to making the chocolate base for my sky-high s'mores pie, only you'll need to thin it out a bit with the cream). Once the sauce is cooled, but not hardened, you can churn it into ice cream at the end. This will make a richer chocolatey flavor, and a better mouthfeel than the cocoa powder, but it takes longer.
No matter which version you choose, adding the chocolate at the very end of churning helps make sure that you get an ice cream that is still fluffy, airy, and creamy. I don't currently have a chocolate sauce recipe on the site, but I'll work on getting one up soon. 🙂
I hope this helps! Let me know how it goes!
Happy Cooking!