
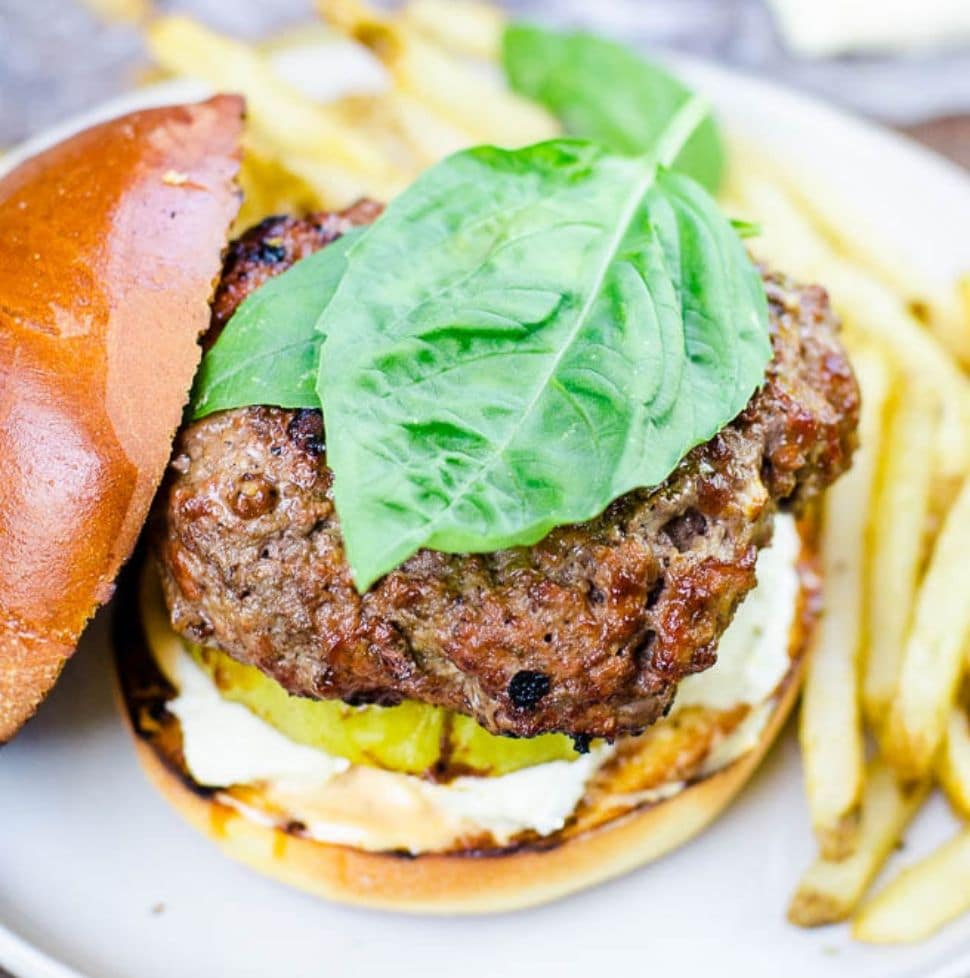
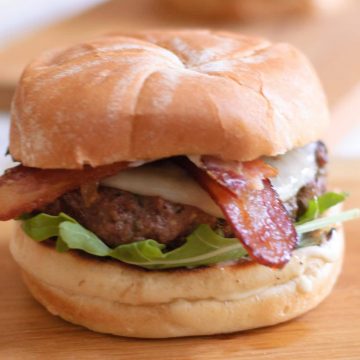
This revolutionary way to make a caramelized onion burger completely changes your burger making routine! Juicy, flavorful, and topped with bacon, this caramelized onion burger recipe will be your new favorite!
Nothing is as frustrating as a cookout at preparing a delicious burger only to have it fall apart when picked up.
This is typical problem with caramelized onion burgers. And they just never seem to go back together the way they originally were, like Humpty Dumpty.
This is one of my biggest frustrations about burgers. In order for it to be fun and flavorful, it always seems to fall apart.
If you’re ready to beat that problem, read on dear friend. I have the solution.
What Kind Of Onion is Best?
Since you are caramelizing the onions for this burger, it is best to go with an onion that is sweet. Sweet yellow onions are my favorite, but red and Vidalia onions work as well.
Caramelizing onion is a bit of process, and can take up to a few hours. However, the task is easily accomplished in the amount of time it takes to preheat your grill.
The important thing is to keep your heat low and slow so the caramelize onions dont burn
How To Make The Paste
To make the caramelized onion mixture for the burger, start by caramelizing the onions in skillet over medium low heat. Put in the oil, add the onions, and let them take their time to cook, stirring occasionally.
While the onions cook, make the roasted garlic.
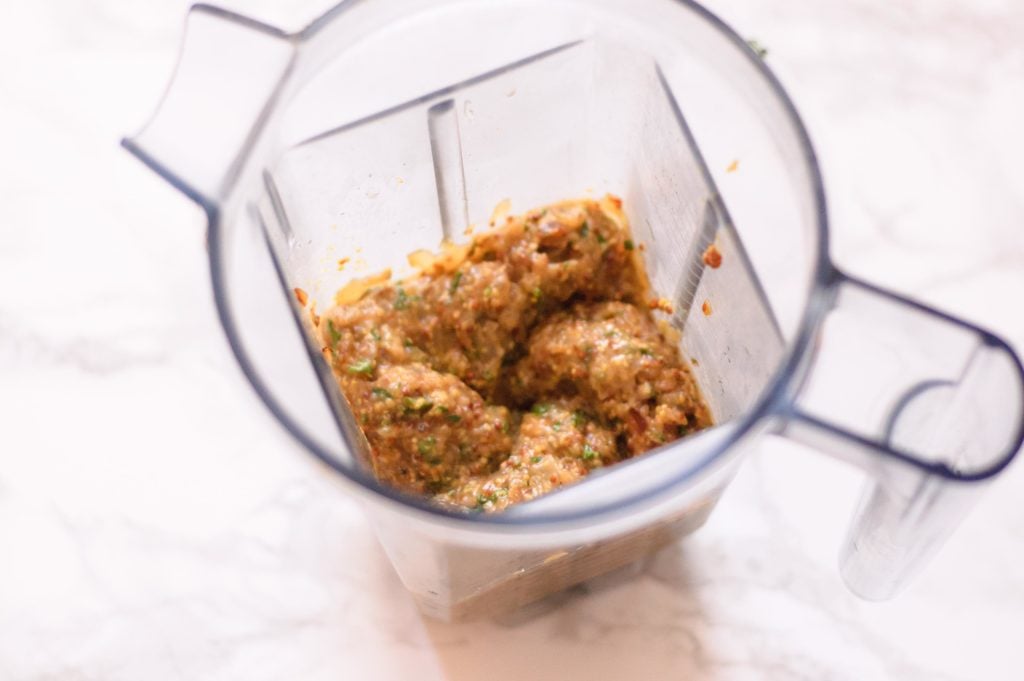
Once the onions finish caramelizing, transfer them to a mixer or food processor. Add in the mustard, Worcestershire sauce, parsley, garlic, and salt and pepper. Blend until smooth.
Next, add the paste mixture into the ground beef in a small bowl. I like to spread out the paste on either side of the beef before beginning to mix it. This helps cut down overworking the meat and making the caramelized onion burgers tough.
After the caramelized onion paste is inside the burger, proceed to cook them on the preheated grill.
You don't have to use a blender or food processor to do this method. Just know that the smaller you cut your onions, the easier it is to mix it into the meat.
Sliced onions create a fault-line in the meat that often forces the caramelized onion burgers to fall apart. The same goes for a large dice. Focus on knife skills and get the cuts as small as possible.
Top Recipe Tips
- Buy a nice 80/20 mix of ground beef for burgers that stay moist. When you cook over medium high heat on a grill it sears the outside quickly. The fat both helps to to get the sear, keep it from sticking to the grill, and remain moist.
- I recommend using a neutral flavored oil for the caramelized onions. Avocado and canola oil don't overpower the sweetness of the onions the way olive oil can.
- Be cautious not to overuse the oil or else it makes the burgers fall apart from being too wet.
- If grilling isn't an option, make the burgers in a cast iron pan. This gets a similar sear to the outside, just none of the grill flavor. Still an equally delicious burger.
- If you have extra burgers leftover, reheat them under the broiler. This helps keep that moisture inside the burger and the seared outside.
- If the internal temperature of your burgers is less than the 160°F recommended by the USDA, bacteria can grow during refrigeration. Keep this in mind with reheating, and try to cook it all the way through
How To Cook The Burgers
These caramelized onion burgers cook really quickly once the grill is preheated. You want to get the grill heat to medium high, or around 425°F.
At this temperature the caramelized onion burgers only need about 4 minutes per side for a medium rare burger. And only mere minutes more for well done.
Because of the fat in the burgers and the caramelized onion paste, the grill doesn't need brushed with oil. (However, if you chose a lower fat ratio meat, it may.) Instead, focus on not moving the burgers more than needed.
When a spatula pushes down on a burger it pushes out all the fat and juices that keep the burger moist. The same goes with flipping it too much. Or even just lifting the burger a bit to see if the grill lines are there.
As difficult as it tends to be, try to let the burgers rest and do their thing. Once finished and cooked to your favorite doneness, transfer the burgers to a plate and top them with the cheese.
If the cheese goes on the burgers while still on the grill, the cheese tends to melt off the burger. Instead, let the residual heat from resting do the work for you. Then the cheese forms around the burger instead of falling off.
Caramelized Onion Burger Recipe
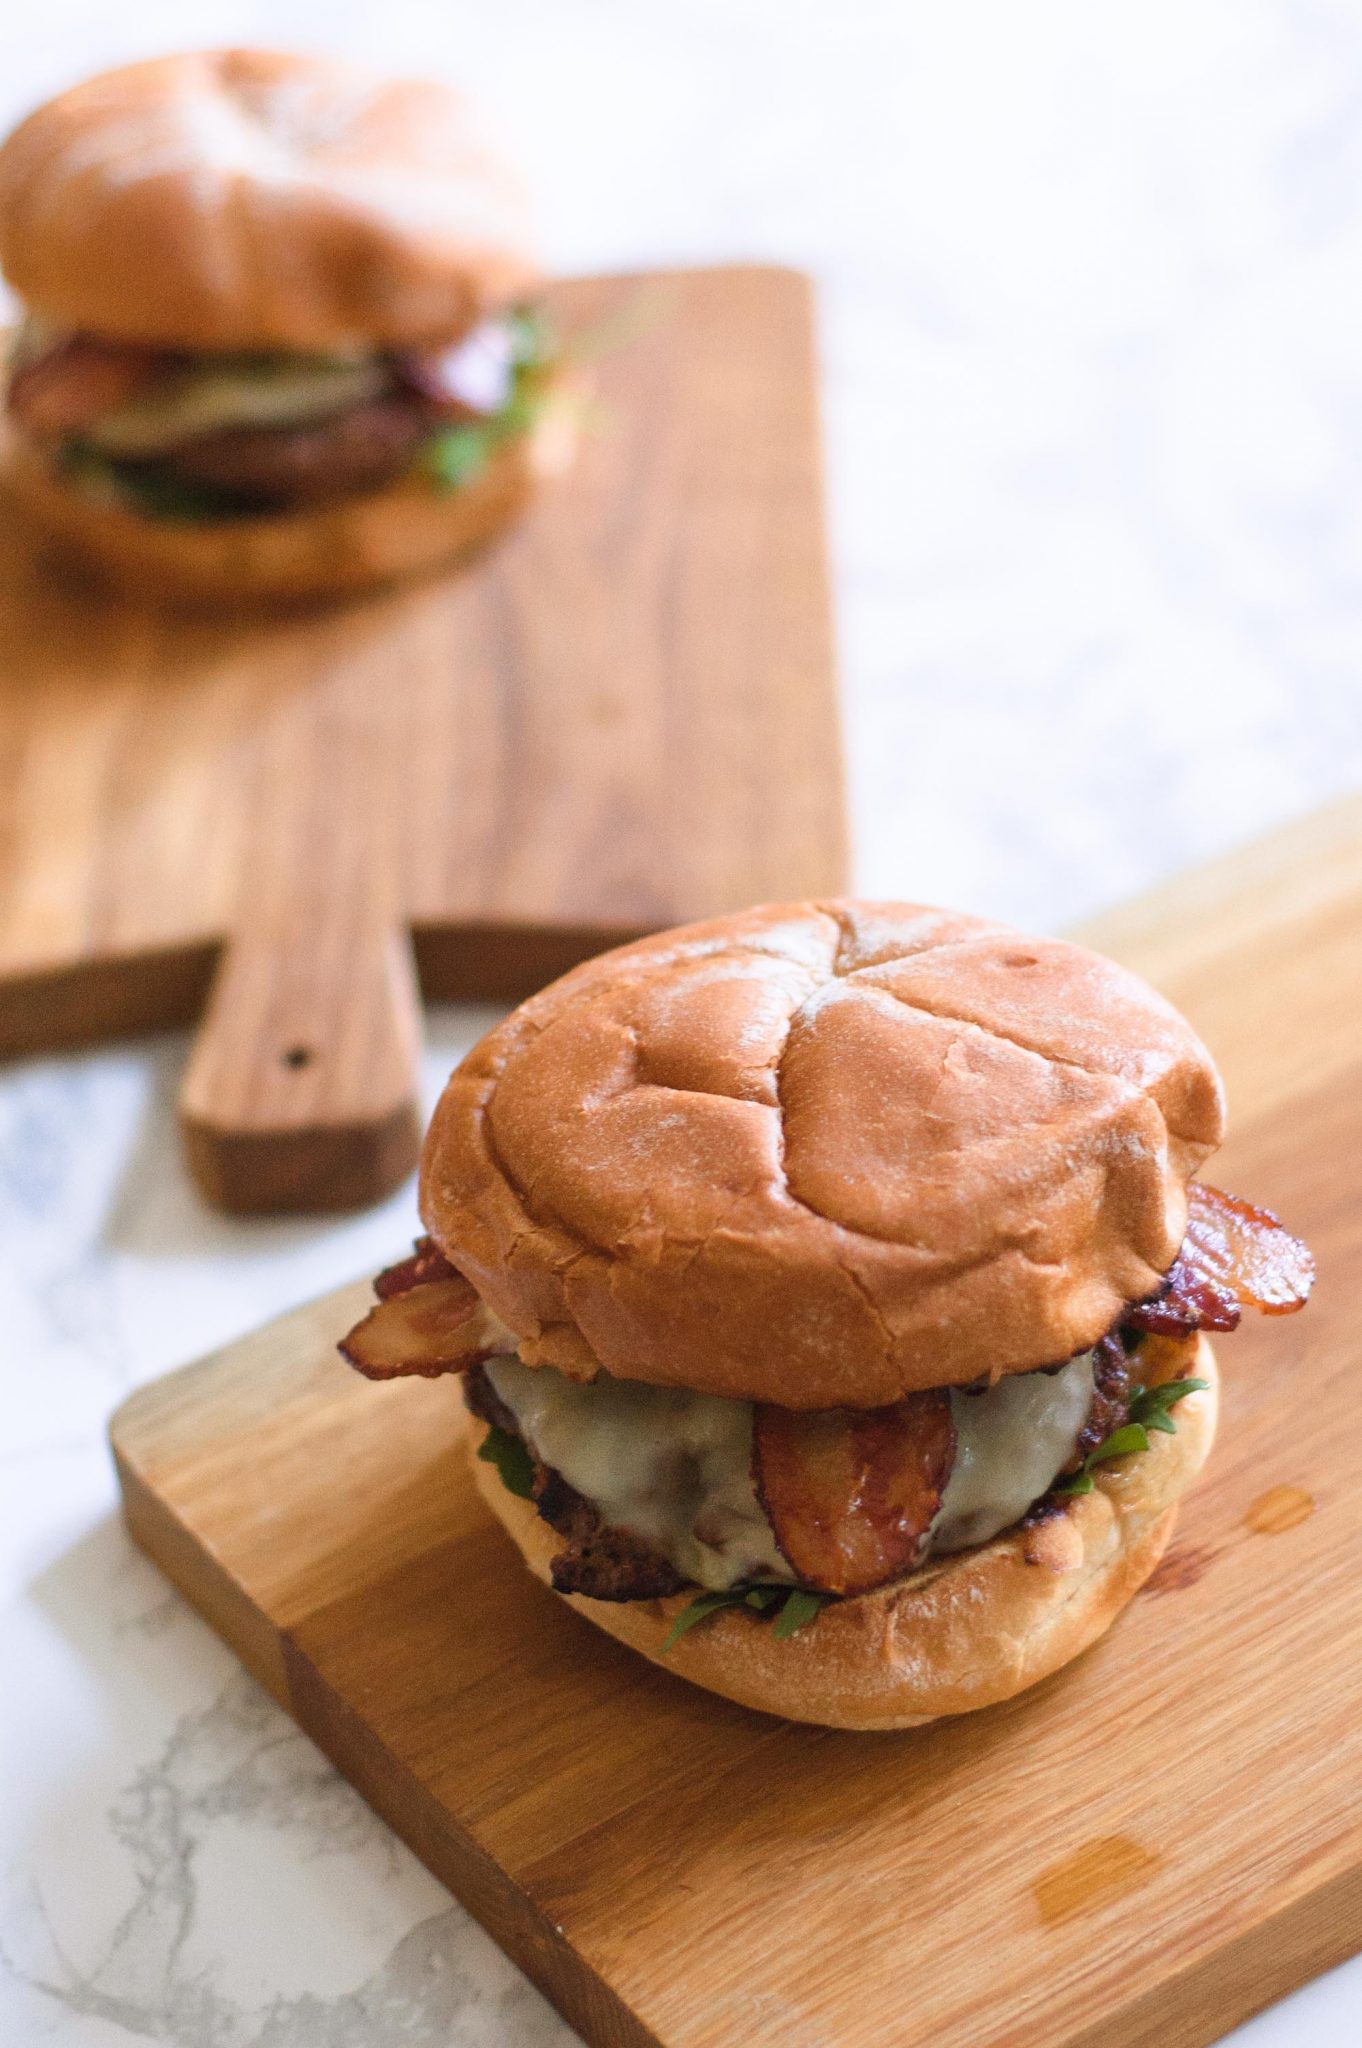
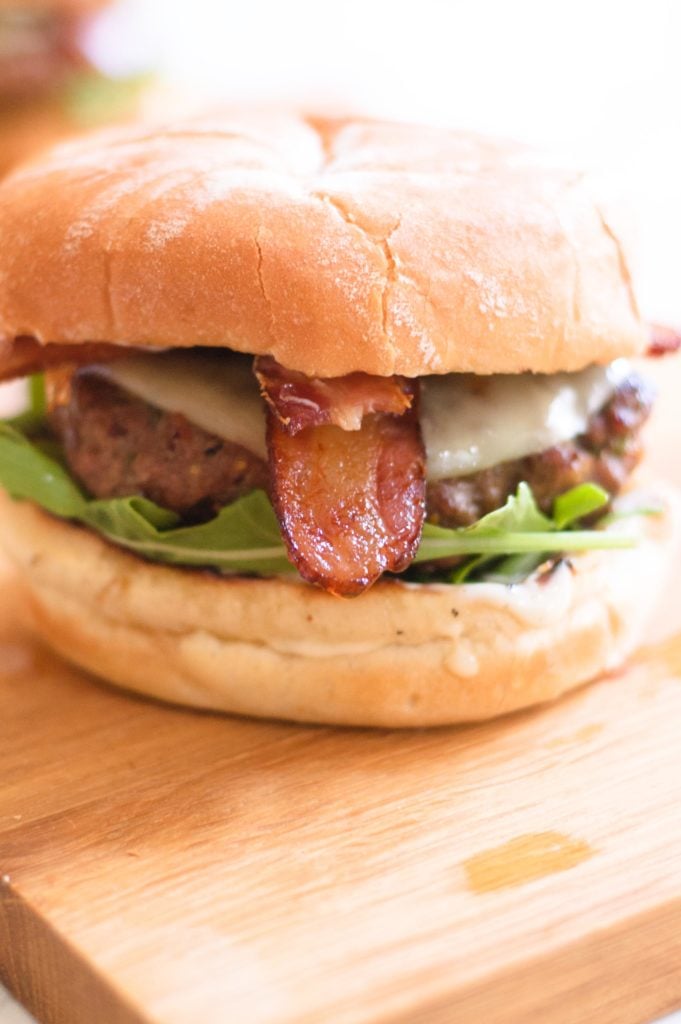
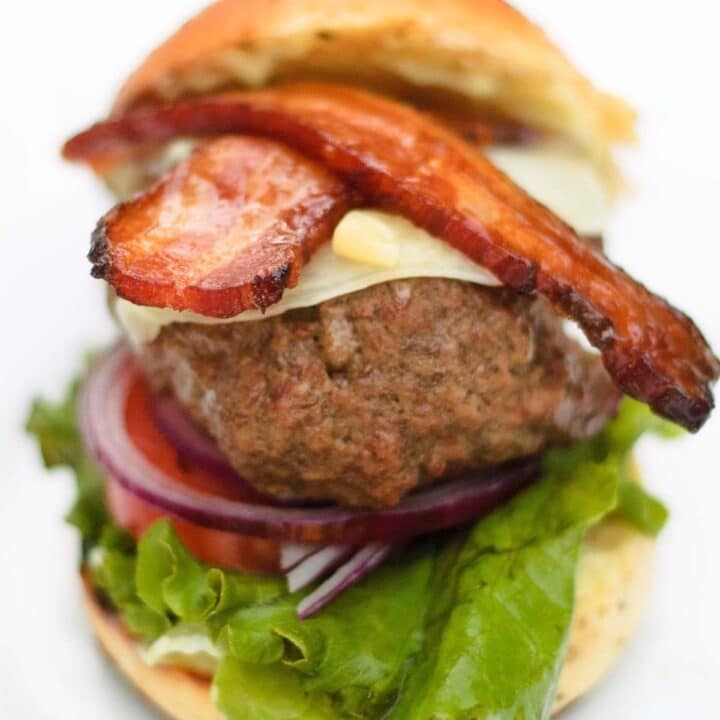
While I recommend adding provolone cheese, arugula, and bacon to this caramelized onion burger, any of your favorite toppings work also.
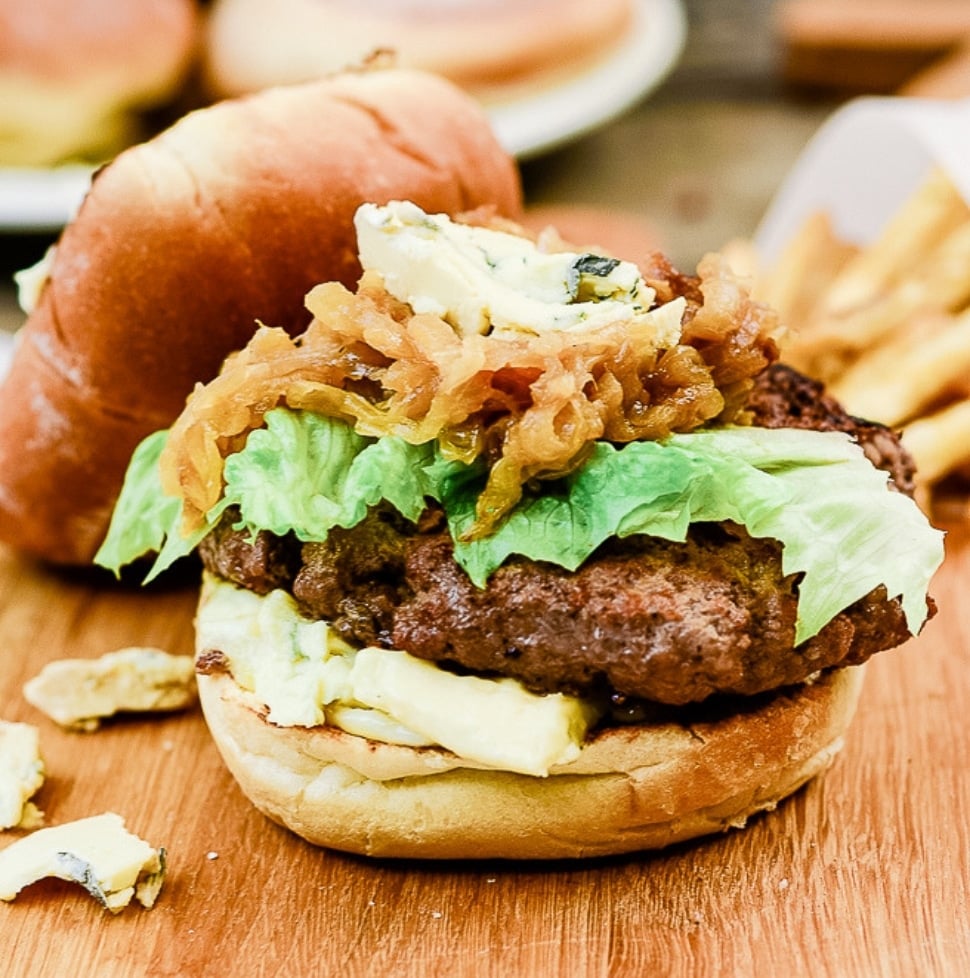
Try adding some blue cheese, a fancy aioli or mayonnaise, or balsamic to the onions. You can even do brie, goat cheese, or mushrooms. (Although I recommend adding the mushrooms the same way as the onions.)
For some more delicious burgers to try, I recommend:
Make grocery shopping simpler with this printable grocery list for this not slippery caramelized onion burger recipe. Everything is listed in standard grocery store amounts. If no size is specified, even the smallest package provides more than enough.
Happy Cooking! 🙂
Caramelized Onion Burgers
Ingredients
Caramelized Onion Mixture
- 2 tablespoon neutral cooking oil, like canola or avocado
- 2 sweet yellow onions, minced
- 6 cloves roasted garlic, roasted
- 2 tablespoon parsley, minced
- 1 tablespoon Worcestershire sauce
- 1 tablespoon whole grain mustard
- 1 teaspoon salt
- 1 teaspoon freshly ground pepper
- 1 lb 80/20 ground hamburger
Caramelized Onion Burgers
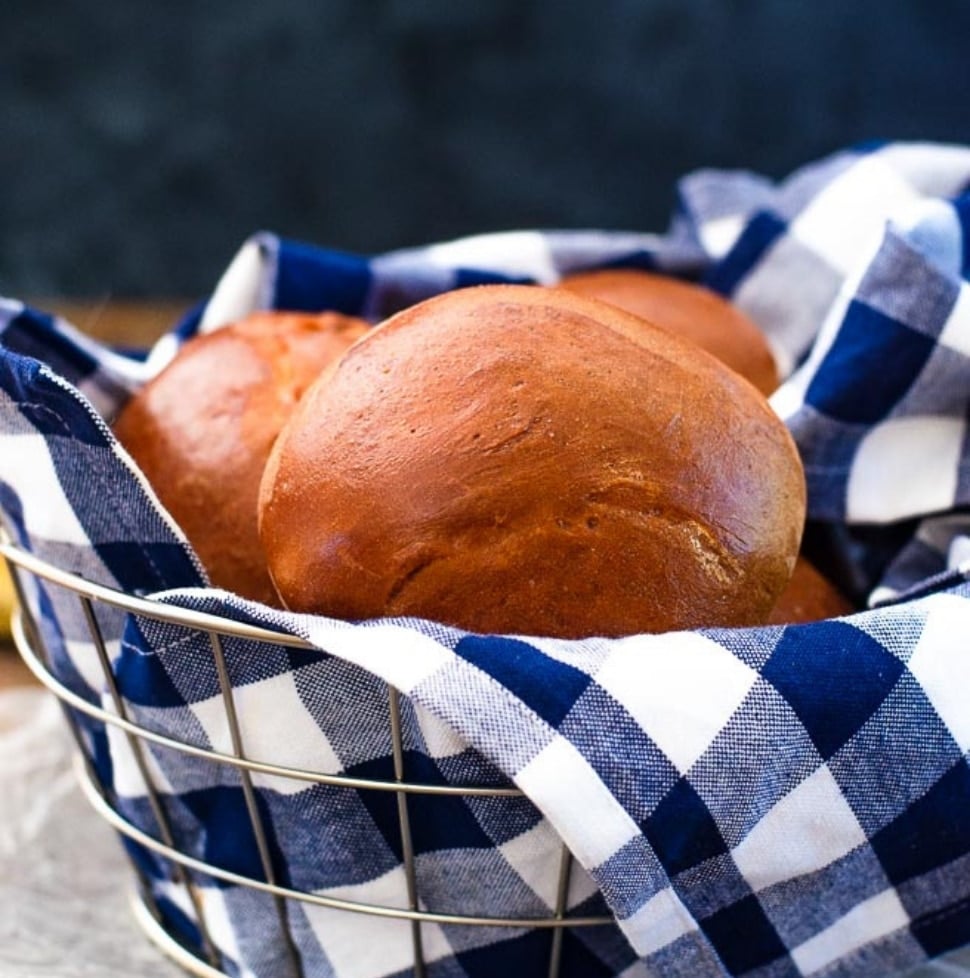
- 4 burger buns, toasted
- 4-8 strips of bacon, cooked
- 1 cup arugula
- mayonnaise, to taste
- 4 slices Swiss or provolone cheese
Instructions
Caramelized Onion Mixture
- In a heavy bottomed large skillet over medium low heat, heat oil and add in minced yellow onions. Reduce the heat to low and let the onion cook until caramelized to a golden brown- stirring occasionally - about 40 Minutes.
- Blend together the roasted garlic cloves, caramelized onions, Worcestershire, parsley, whole grain mustard, salt, and pepper until smooth. Set aside.
- Preheat Grill.
Caramelized Onion Burgers
- Using your hands, smash at least 2 heaping tablespoons of the caramelized onion mixture into the ground hamburger until completely (and as evenly as possible) combined. Try not to overwork the meat, if possible
- Divide the mixture into four even quarters and form them into patties If possible, allow the burgers to rest for 30 minutes before cooking so the flavors can marry and the burger doesn’t get tough.
- Grill, turning at least once, until desired doneness is reached. Place one slice of cheese on top of each patty and let melt. Remove from heat and let rest for five minutes before assembling.
- While grill is still hot, lightly toast the buns. Coat buns with desired amount of mayonnaise.
- Place arugula on the bottom bun (so it sticks to the mayo and is weighted down by the burger), add the burger patty, and 1-2 strips of cooked bacon on top of the burger followed by the top bun. Serve.
Notes
- If you have extra caramelized onion mixture leftover, freeze it in an ice cube tray for later. Just fill each compartment with the two heaping tablespoons. Once they are frozen, break them from the ice cube tray and store in a plastic bag. It will keep like this for up to 6 months.
Bintu says
I bet that caramelised oinion mixture will add lots of flavour to the burger
Diana says
I LOVE caramelized onions and looking at these pictures is making me really crave a good burger right now! Maybe I should just go and make one! YUM
Dannii says
Onions are must in any burger and this looks like an epic burger! I have a burger craving now.
Mackenzie Ryan says
I think someone has a burger craving every day in our house! 🙂 Thanks for stopping by! 🙂
Jovita says
I LOVE caramelized onions so there is no doubt I will love this burger. I can't even imagine how much my hubby will love it!
Olivia says
OMG, the caramelized onions are INSIDE the burger? Genius. You are genius, girl!
Mackenzie Ryan says
Aww..shucks. Thanks Olivia! 🙂
Daisy says
Haha that intro was so much fun!