Be the hit of the party (or cookout) with these deliciously fluffy Mini Chicken Bacon Spinach Artichoke Hand Pies. They're the perfect finger food appetizer for any occasion!
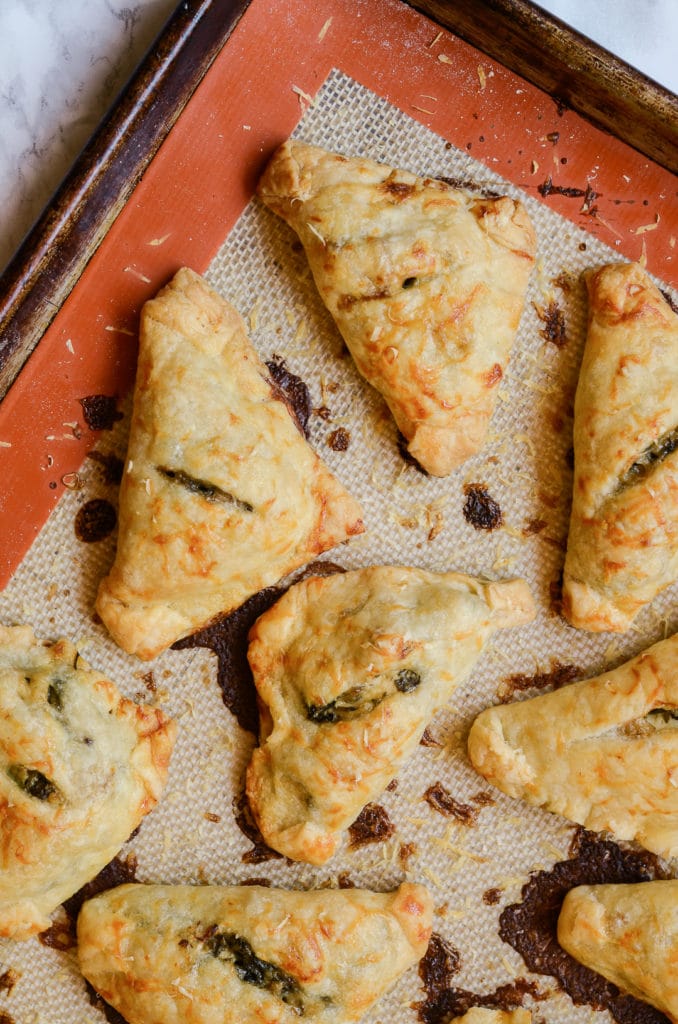
Every month I usually do a fun theme, but since posts will be a little fewer and further between for a while I'm gestating a tiny human, I'll be jumping around with some fun recipes. I think of it like the blog is reflecting my pregnancy brain - spaced out and in an illogical order.
Skills & Techniques
These Mini Chicken Bacon Spinach Artichoke Hand Pies will be even more awesome after you brush up on these culinary skills first:
- Pâte Brisée Pie Crust 101. Learn how to get a perfectly fluffy and light pie crust from scratch. If you've had trouble with homemade pie dough in the past, don't worry, there's even a troubleshooting guide!
- How To Buy & Store Bacon. This recipe doesn't use an entire package of bacon. Find out how to store the rest of it and keep it fresh until you're ready to finish it up.
- Understanding Flours. If you really want to up the fluffiness of your pie dough, find out which flour would work best.
- How To Dispose Of Kitchen Grease. Make sure you don't clog up those drains and find out how to properly dispose of that bacon grease.
Storage & Leftovers
I want to start by stating something that can be easily forgotten; this recipe contains meat. This is only an important reminder because that means that it needs to be served and stored correctly to prevent food-borne illness. That means that these appetizers should not sit out for more than 2 hours at room temperature. If you are taking them to a cookout, keep in mind the temperature outside, and consider cutting that down to one hour.
If you make these ahead and want to store them in the refrigerator, they will keep in an airtight container for around three days. To prevent getting a soggy crust in the fridge, make sure they are completely cooled before storage.
If you would like to reheat them, I recommend:
- Preheat the oven to 350°F.
- Place the Mini Chicken Bacon Spinach Artichoke Hand Pies on a sheet pan and lightly cover them with aluminum foil. Flip up one corner of the foil to allow for venting.
- Bake for 20-30 minutes, or until warmed throughout. Remove from oven and serve immediately.
If you want to add a fresh layer of parmesan cheese on top to help freshen up the hand pies, remove the foil for the last 10 minutes to help with browning.
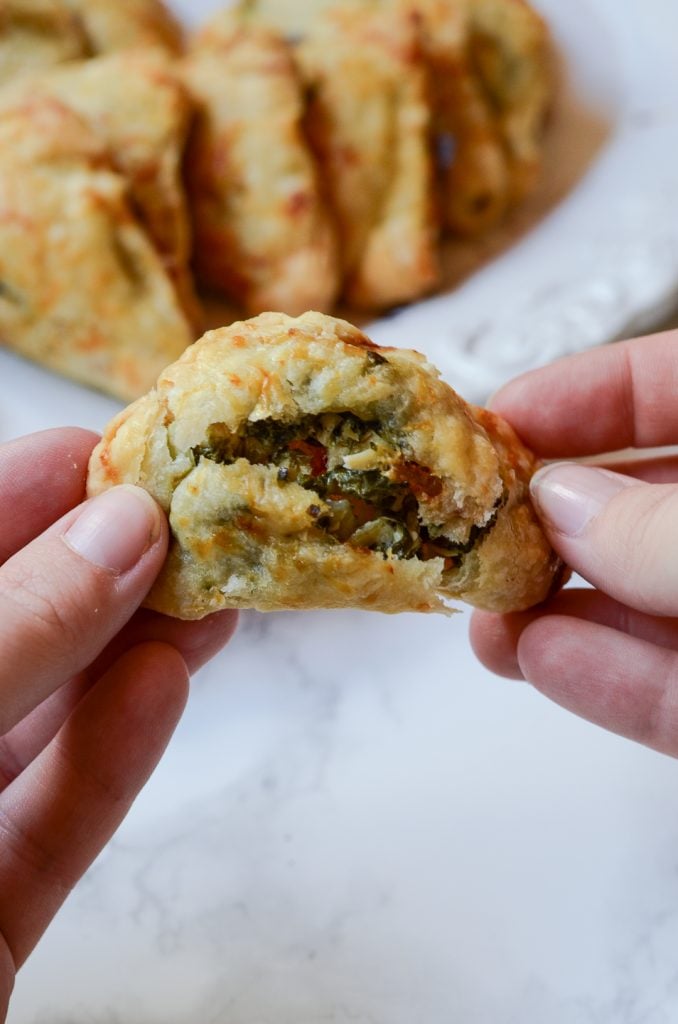
Mini Chicken Bacon Spinach Artichoke Hand Pies
Maybe there is a small theme going with my posts, in that this one and last week's both work as more than just an appetizer. If you would like to serve this Mini Chicken Bacon Spinach Artichoke Hand Pies recipe as an entrée, only cut each piece of pie dough into vertical thirds. (This will make 9 servings all together.)
Get your free printable grocery list for this Mini Chicken Bacon Spinach Artichoke Hand Pies recipe HERE.
This grocery list has everything you’ll need to make this Mini Chicken Bacon Spinach Artichoke Hand Pies recipe. To help in making grocery shopping simple, each ingredient is listed in easy-to-find grocery store amounts. If there is no amount specified, that means that you can buy the smallest (or largest) container available and still have plenty left over.
Thanks so much for stopping by!
If you would like to try other appetizer recipes, I recommend:
- Crab & Artichoke Stuffed Zucchini
- Crab & Grapefruit Stuffed Avocado
Happy Cooking! 🙂

Mini Chicken Bacon Spinach Artichoke Hand Pies
Ingredients
Hand Pies
- 1 batch pâte brisée pie dough
- 1 lb. chicken breasts,, sliced
- 4 strips of bacon, , roughly chopped
- 6 cloves of garlic, , minced
- 12 oz. spinach,, roughly chopped
- 8 oz. cream cheese,, softened
- ½ c. parmesan cheese
- ½ c. fontina cheese
- 1 can of artichoke hearts in water, , drained and roughly chopped
- salt and pepper, , to taste
Wash & Garnish
- 2 tbsp. milk
- ½ tsp. italian seasoning
- ½ c. parmesan cheese, , freshly grated
Instructions
Pie Dough
- Follow the directions HERE for making pie dough. Do the full recipe to yield the equivalent of two pie crusts.
- Roll the pie dough into three 12x18 rectangles (roughly). Separate them between layers of plastic wrap or parchment paper, cover them, and refrigerate until needed.
Filling
- Preheat the oven to 350°F.
- Place the chicken in a single layer in an oven safe baking dish and bake for 30 Minutes, or until the chicken is cooked through. If you bought really thick or large breasts, it may take up to an additional 20 minutes or longer (give or take).
- In a heavy bottomed deep skillet over medium heat, cook the bacon pieces to your desired level of crispiness. Remove the bacon from the skillet, set it aside, and drain most of the bacon fat into a safe disposal area.
- Return the skillet to the heat and add in the garlic. Sauté until it just starts to caramelize; about 1 Minute. Working in batches if necessary, add in the spinach and reduce the heat to low. Stir occasionally until the spinach has wilted into bright green and thoroughly cooked pieces, but are not yet limp or look like canned spinach. Set aside and let cool to room temperature.
- While the spinach wilts and cools, use the back of a wooden spoon to beat the cream cheese until smooth. Stir in the parmesan and fontina cheeses, season with a little salt and pepper and gently stir in the artichoke hearts and bacon pieces.
- Once the chicken has cooled to room temperature, cut it into bite sized pieces and add it and the spinach to the cream cheese mixture.
Assemble and Bake
- Working with one sheet of pie dough at a time, cut each rectangle of dough into 12 pieces (4 vertical rows, three horizontal). They should be roughly square shaped.
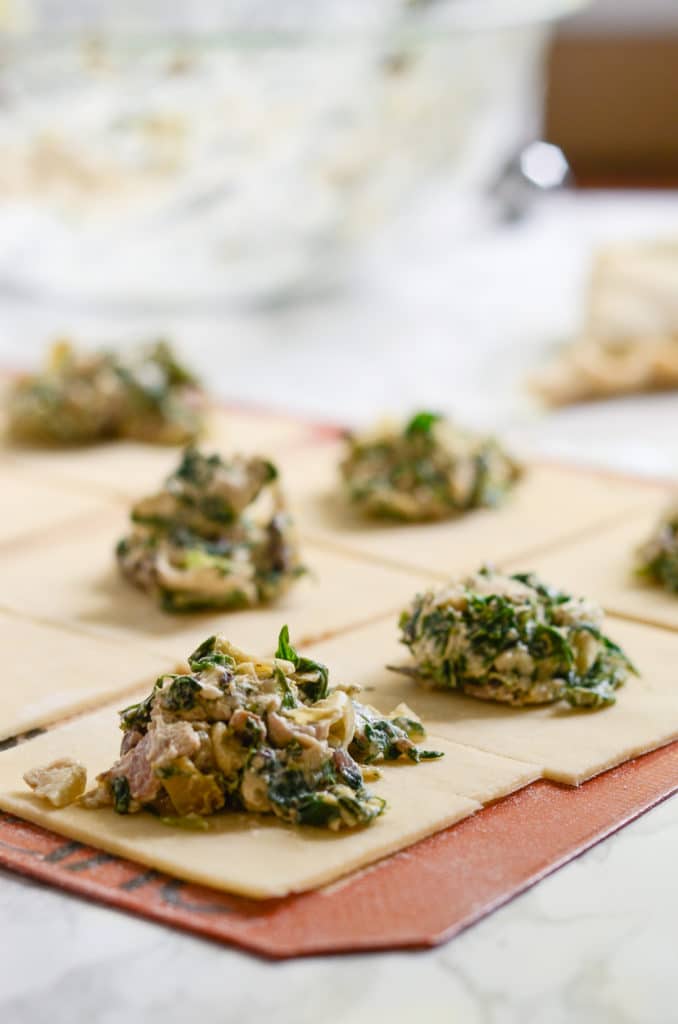
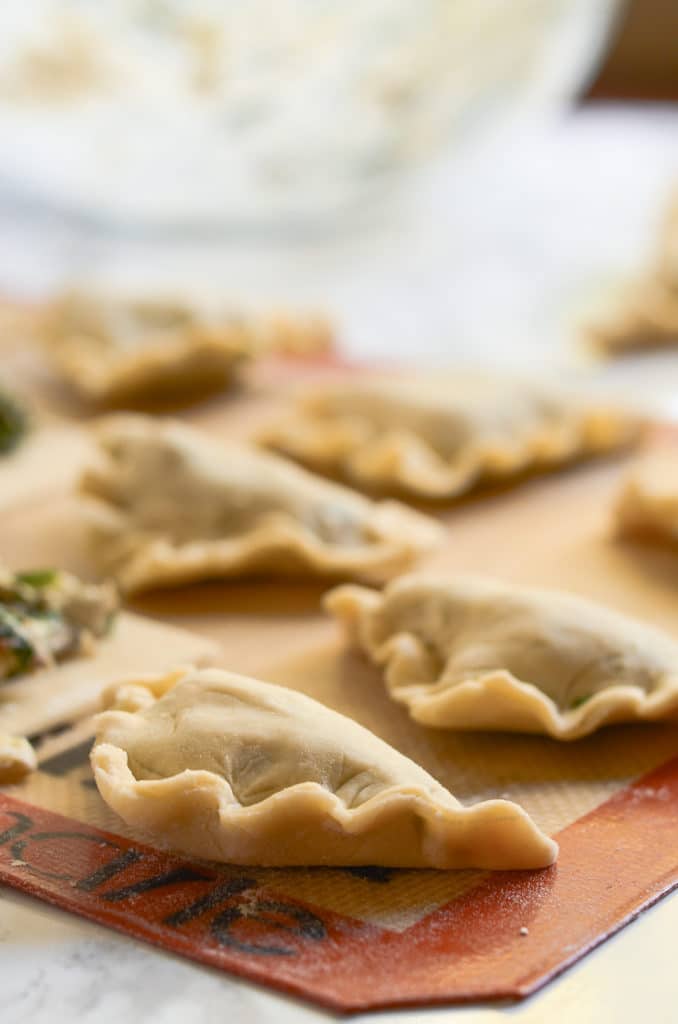
- Place one overflowing tablespoon of filling into the center of each piece and fold from one corner to the other to make a triangle. Use your hands or the tines of a fork to seal or crimp the edges together until completely sealed. You may have to fold in the corners first to make sure they don't have a small hole. If your dough is too dry to stick together when sealing it, try dipping your finger in a little bit of water and running it along two of the sides before creating the triangle.
- Cut a small slit into the top of each hand pie and repeat the previous step with each rectangle of pie dough. Make sure to place the finished hand pies back into the refrigerator between batches so the dough stays chilled.
- Preheat oven to 350°F and line a baking sheet with parchment paper or a silicone baking mat. Add as many hand pies as you are comfortable with onto the sheet pan, making sure that they don't touch, and brush them with the milk. Sprinkle a little of the garnish on top of each hand pie and bake for 30 Minutes, or until the pie dough is golden brown. Remove and repeat until all the mini hand pies are cooked.


Jenn says
These are going to be perfect for fall party season - football, Halloween - can't wait to surprise everyone with them!
Mackenzie Ryan says
Thanks, Jenn! I hope they are as loved at your parties as there are in our house! 🙂
Leah says
I think you have every one of my favorite flavors in these hand pies! They sound so delicious, and I love to make pie of any sort, so I can't wait to make these!
Mackenzie Ryan says
It's one of my favorite flavor combos as well! I hope they become a new favorite!
Sarah says
I love hand pies! The last time I made a batch (not yours), I overstuffed them AND didn't crimp well.. and they leaked (nooooo), but they were still delicious! I need to try your version yummm
Mackenzie Ryan says
I've totally been there before! These leak a little bit, but since it's not a super wet filling it doesn't do nearly as much others. They're absolutely worth trying again - they're so fun to make!
Amy says
These little bite-size pies look like they are filled to the brim with delicious flavors! I love the idea of serving these at a party as hor d'oeurves or maybe even for a brunch!
Mackenzie Ryan says
I love how versatile they are, Amy. They're just fancy enough for a baby or bridal shower but also great for tailgating!
Amanda says
These hand pies would be so perfect for a game watch party! Your pate brisee looks absolutely perfect and I'm loving the flavors of the filling. Fontina always gives me all the feels! (And also, congratulations on your growing family 🙂 What wonderful and exciting news!)
Mackenzie Ryan says
I feel you on the Fontina, Amanda. It gives that perfect ooey-gooey pull apart cheesy look! (Also, thanks! 🙂 )