
How To Make Pumpkin Puree At Home

Tired of canned pumpkin that isn’t made of pumpkin at all? Learn how to make pumpkin puree at home and get the best of the season right in your kitchen.
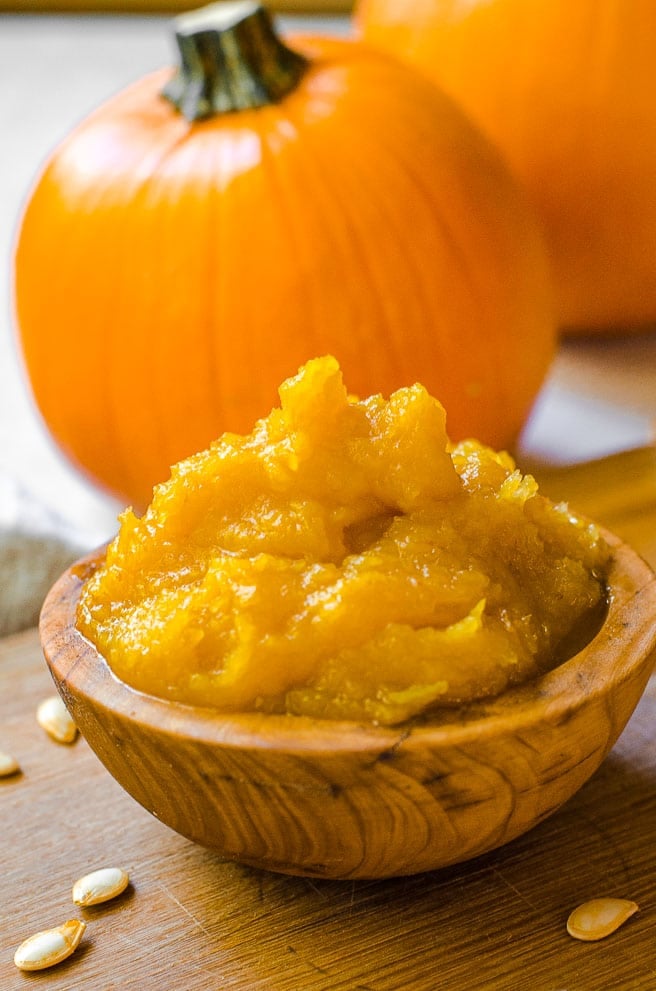
Homemade pumpkin purée is the food gold of autumn. The flavor is brighter and fresher than its canned counterparts. Not to mention, the color is bolder and more beautiful.
If you’ve never taken the time to make pumpkin puree at home, you’ll be glad you did. Plus, it freezes beautifully so you can enjoy it all year long.
Is Canned Pumpkin The Same As Pumpkin Puree?
Yes, canned pumpkin IS the same as pumpkin purée. The important differentiation between the two is that homemade pumpkin puree tends to be more wet. As a result, canned pumpkin looks more like pumpkin mass than puree.
The important thing to note is that not all cans of pumpkin you buy in the store is made of purely pumpkin. FDA regulations state that the cans have to be filled with a type of squash. This can be butternut squash, field pumpkins, or other golden fleshed squash. While this doesn’t really matter in the long run for making fresh pumpkin puree, not all cans of pumpkin are created equally.
Additionally, canned pumpkin is sometimes referred to as “pumpkin pie filling”. This is still made of pumpkin puree it just has pumpkin pie spices already added to it.
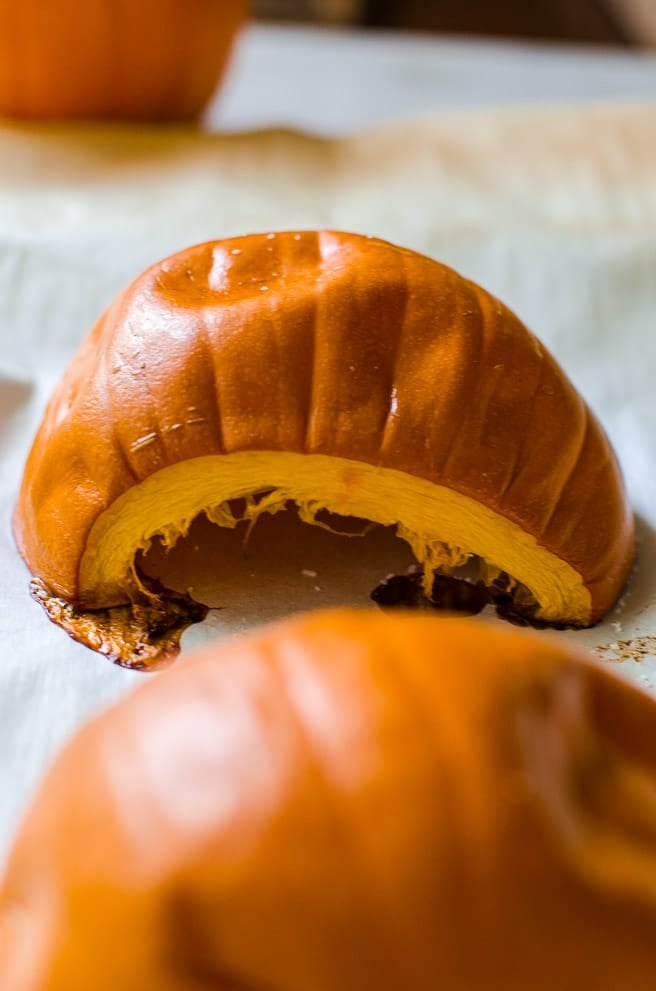
What Is A Baking Pumpkin?
Baking pumpkins, also known as sugar pumpkins or pie pumpkins, are small roasting pumpkins that have a sweeter flesh than field pumpkins. This type of pumpkin is ideal for making puree because the pumpkin flesh is less watery.
You can find these pumpkins in a grocery store during the autumn months. They are usually about the size of a bowling ball and weigh between 3-5 pounds. They do give you a surprising number of pumpkin seeds, so make sure to save those for roasting into a snack later.
How To Cut and Clean A Pumpkin
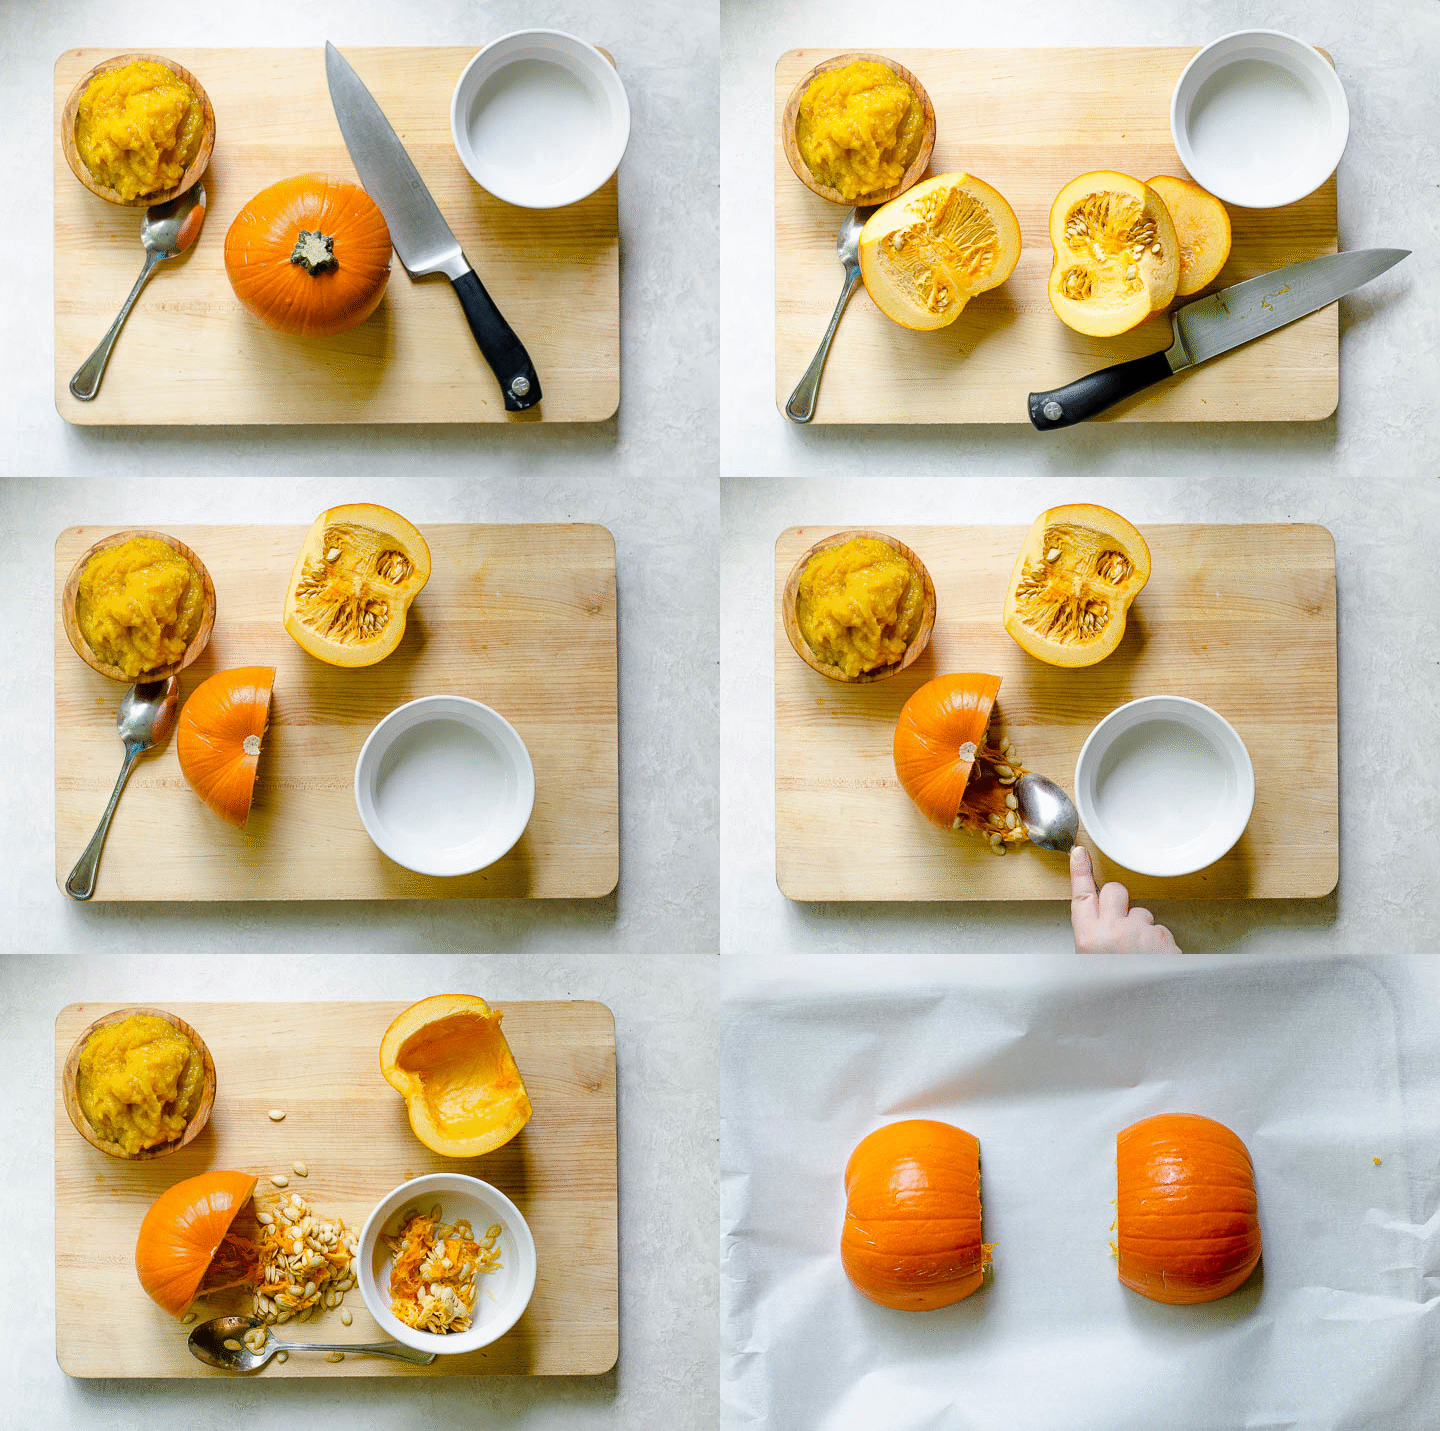
Once you get your sugar pumpkin home, you’re ready to cook. It’s always a good idea to rinse your pumpkin before cooking just to make sure that you don’t accidentally transfer any excess dirt when cutting or moving it around. To help be safe with your knife, dry it completely before cutting the pumpkin.
If you have a particularly large stem, it will twist off. However, if you don’t mind losing a few tablespoons of pumpkin puree, you can cut it off with your knife. Once the stem is removed, cut the pumpkin in half through where the stem was.
Prop the pumpkin up on the flat end where you cut off the stem to scrape out the seeds with a large spoon. (Save those for making pumpkin seeds later.) Now you’re ready to roast.
Choosing this method saves you time and energy, plus you can scoop the flesh out of the shell before pureeing.
Tips for Making A Better Pumpkin Puree
- Use salt. Salt is a desiccant, which means it helps remove moisture. If you want to avoid a watery pumpkin puree, salting the flesh before roasting will help to pull out the excess.
- Parchment paper makes for easy cleanup. I’ve talked before about how wonderful parchment paper is, and it helps make clean up easy for this recipe. Put it on your baking sheet before roasting to keep the
- Kitchen shears help cut difficult membranes. The membranes that hold the pumpkin seeds sometimes get a bit difficult to scrape out. If you find that the spoon or ice cream scoop just aren’t doing the trick, cut them out with kitchen shears.
- A knife will easily pierce the fresh pumpkin when cooked. You’ll know that the pumpkin is done cooking when a paring knife can easily pierce through the pumpkin, skin and all.
- No scooping necessary. Save yourself a spoon to clean and just peel the skin off of the cooled pumpkin. It should naturally and easily separate from the flesh as it cools.
- Flip the pumpkin for faster cooling. If you need the roasted pumpkin to cool faster, use oven mitts to help you flip over the pumpkin halves. This will allow for faster evaporation and cooling. Just be careful, the pumpkin can be a bit slippery.
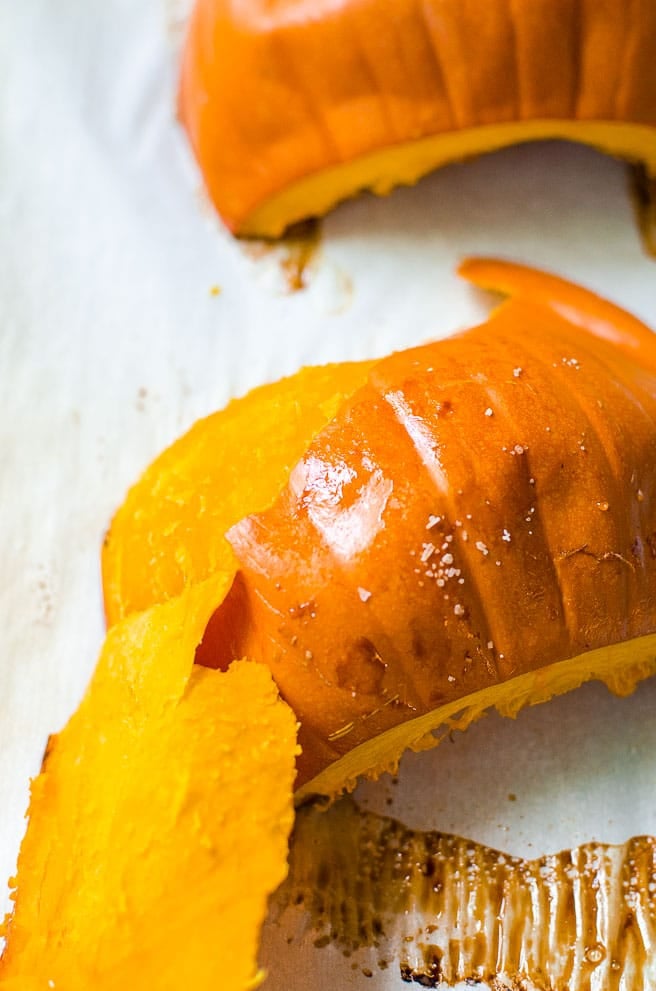
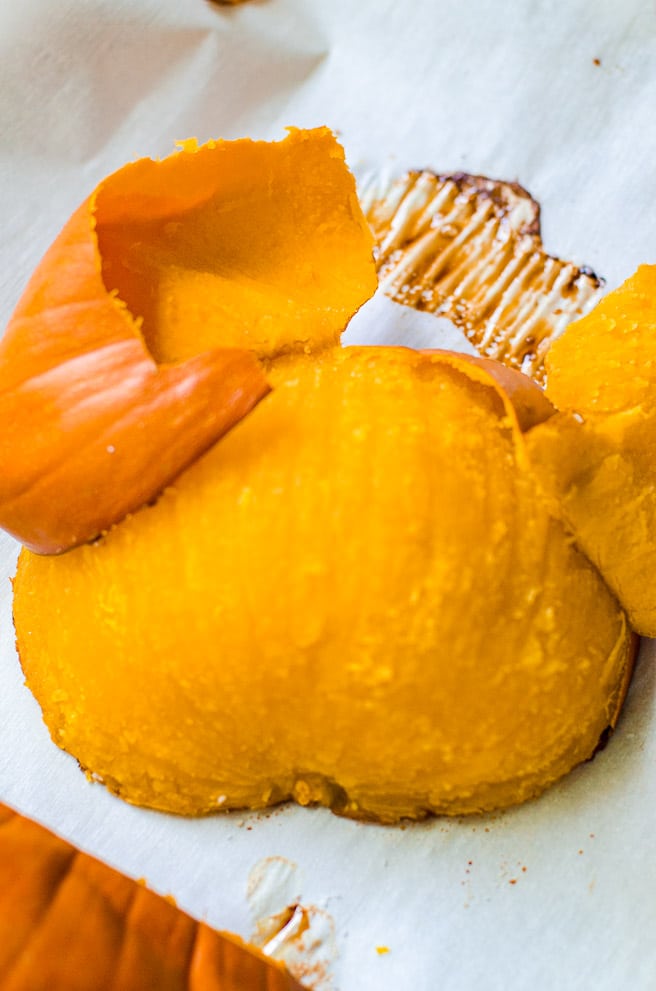
What If My Roasted Pumpkin Caramelizes?
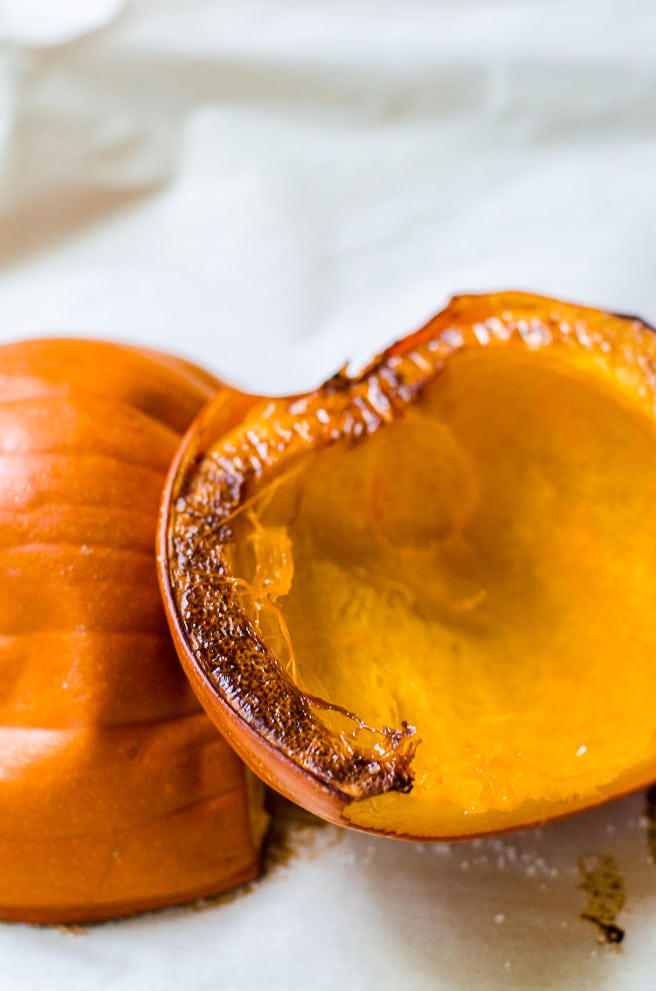
During the roasting process, the cut side of the pumpkin may caramelize or turn brown during cooking. This isn’t anything to worry about. As you puree the pumpkin in a food processor or blender, the caramelized parts will disappear into it. It won’t affect how the color of the final product, but it will help enhance the delicious pumpkin flavor.
How To Store Homemade Pumpkin Puree
Once you have cooked the pumpkin and turned it into puree, it will stay fresh in the refrigerator for 3-5 days. Keep it in an airtight container with as little space as possible for the best results.
It can also be stored in the freezer for up to six months. Put it into a freezer bag, pat it flat so there is no space for air and freeze. Store them stacked on top of each other to save space in your freezer.
Favorite Pumpkin Recipes Using Puree
Pumpkin puree is a staple ingredient in many delicious autumn treats. From pumpkin muffins to pie. For some other great ways to use pumpkin puree, try one of these recipes.
- Copycat Starbucks Pumpkin Cream Cold Brew
- Overnight Pumpkin French Toast with Pecan Praline Topping
- Pumpkin Pasta with Brie
- Pumpkin Shakshuka
- Loaded Pumpkin Soup
How To Make Pumpkin Puree From Scratch
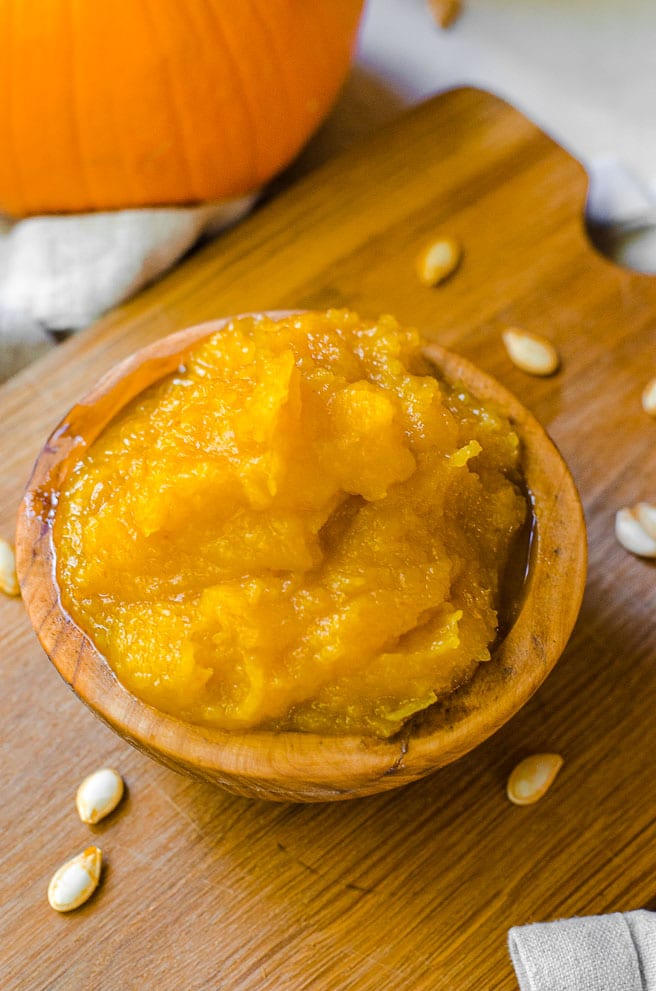
If you plan to use this pumpkin puree to make a favorite recipe that calls for canned pumpkin, DO NOT skip the final step of this process. Since canned pumpkin isn’t as wet as homemade puree, you need to accommodate for that and cook out the excess moisture. This will make those recipes work out like you are used to.
If for some reason you do skip this step, you can adjust for it on the other end by adding to the cooking time of your recipe. For example, pumpkin pie may need up to 30 minutes extra to set up, or need additional flour or cornstarch.
Happy Cooking! 🙂
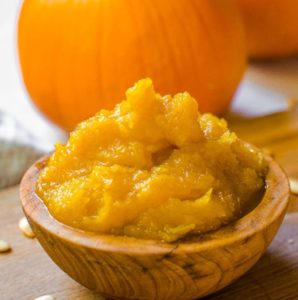
Homemade Pumpkin Puree
Ingredients
- 1 sugar pumpkin
- salt
- 2-3 Tablespoons water, plus more if needed
Instructions
- Preheat the oven to 400°F. Line a baking sheet with parchment paper.
- Cut the pumpkin in half through the stem and scoop out all the seeds and membranes with a large spoon. Set those aside for roasting as a snack later.
- Salt the flesh and place the pumpkin cut side down on the parchment paper. Roast for 35 - 45 minutes, or until the pumpkin is cooked through and can be easily pierced with a paring knife. Let cool for at least one hour.
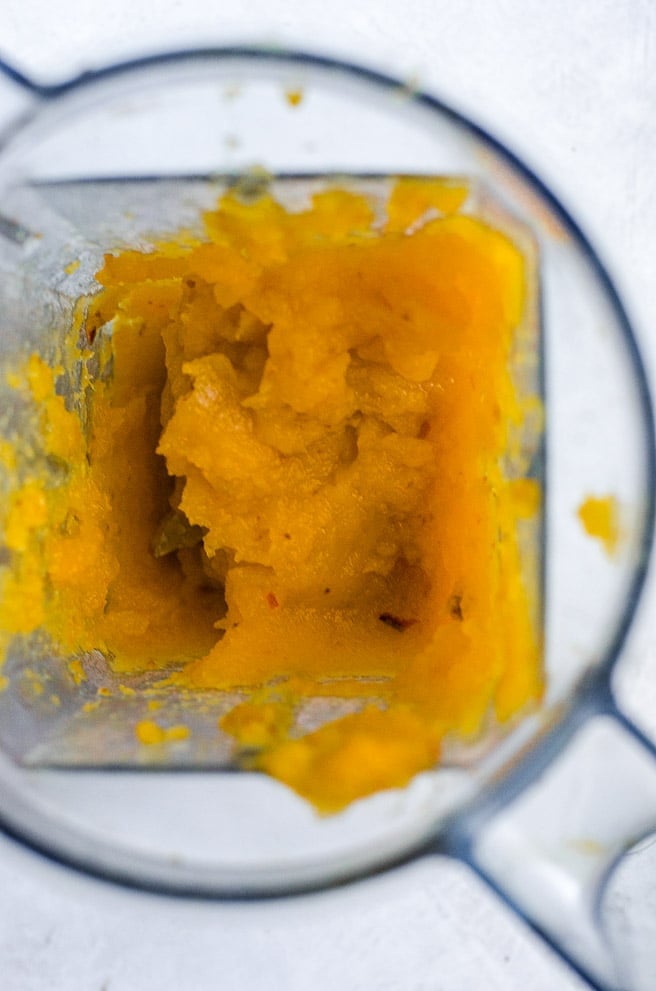
- Peel the skin off of the pumpkin flesh. Pour the water into the bottom of the blender or food processor and puree until smooth. Add more water if needed.
- OPTIONAL: Transfer the pumpkin puree to a pot and cook out any excess moisture over low heat. Stir it regularly to make sure it doesn’t stick to the bottom or burn.
- Transfer to an airtight container and refrigerate up to five days.
I have never made my own pumpkin puree before and was super nervous to try - but it turned out great! Thank you so much for all the great tips!
Yay! I'm so glad it worked for you Jenni!