
This festive and fun chestnut roll wreath is a great seasonal twist on classic flavors. Perfect for Christmas morning, this holiday treat will soon be a new family favorite!
My family does Christmas a little unusually. Christmas was the first holiday my husband and I ever spent together, so it's always just together. We don't go visit family, we don't do a feast, and we don't make a big deal about it. We do however have two food traditions. One is to make homemade cinnamon rolls for breakfast. The other is to graze on epic cheesy fondue during the afternoon. Today's chestnut roll wreath is my new favorite way to do Christmas morning cinnamon rolls. It has a more seasonal flavor, and who can resist food made into a fun and festive wreath?
Skills & Techniques
If you really want everyone to be impressed with your mad baking skills, here are some other posts I recommend reading before you begin:
- Understanding Yeast and How To Make Stellar Dough. This chestnut roll wreath utilizes yeast to help it rise. Find out everything you need to know about how to make the yeast work correctly so your wreath isn't flat.
- How To Buy & Store Chestnuts. Find out what to look for at the store when buying chestnuts and how to keep them fresh when you get them home!
- How To Roast Chestnuts. This recipe calls for using 1.5 cups of freshly roasted chestnuts (about 1 pound). While you could absolutely use boiled ones from the store, you'll be much happier with the texture and flavor if you roast them yourself.
- How to Buy & Store Spices. Make sure your spices are fresh enough to really bring the flavor needed for this delicious chestnut roll wreath.
Leftovers?
One of my favorite things about this wreath is that it is easy to make just enough for everyone. If you already know how many people you are serving, you can cut it into appropriate portions - which makes it great for a crowd. If you're serving this to a family of four however, that would yield some very large chestnut rolls. To store your leftovers, place them in a single layer in an airtight container. You can keep them on the counter overnight if you'll eat them the next day, or in the fridge for up to 3 days.
To reheat this chestnut roll wreath:
- Preheat the oven to 300°F.
- Place your chestnut rolls on a sheet pan lined with parchment or aluminum foil and place in the oven to reheat for 15 minutes or until heated through. You may find that it takes a little longer if you stored them in the fridge.
- Serve hot with a fresh drizzling of glaze.
If you used up all of your glaze right at the beginning, I recommend making a half batch when you reheat your chestnut roll wreath. A lot of the glaze may have run off the chestnut rolls during reheating, and this will help give it a fresher taste.
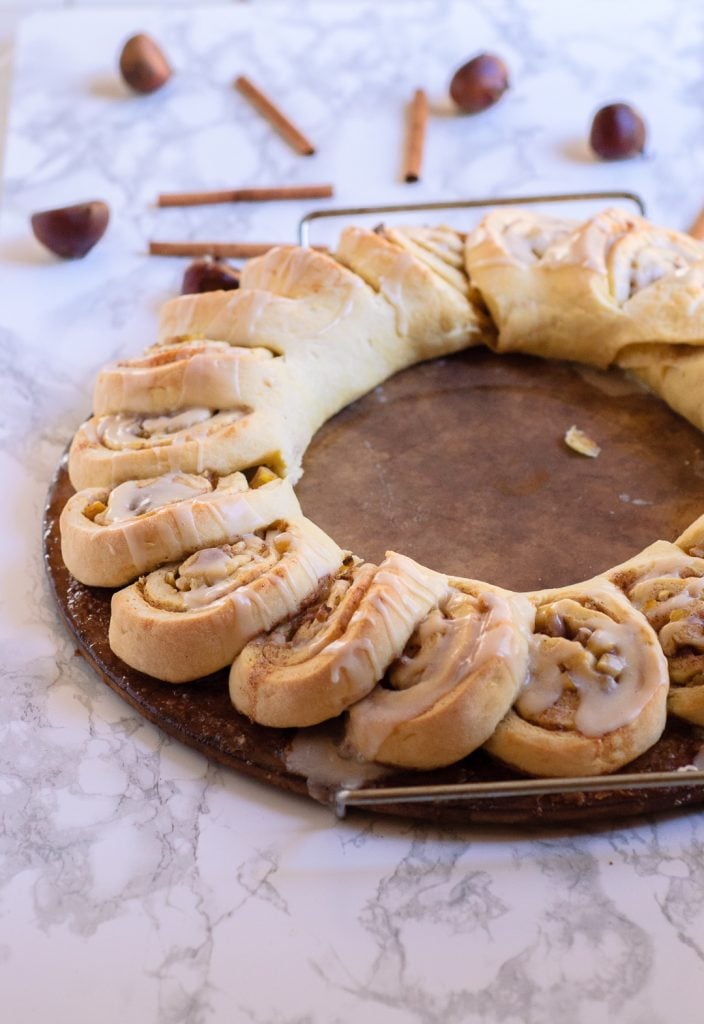
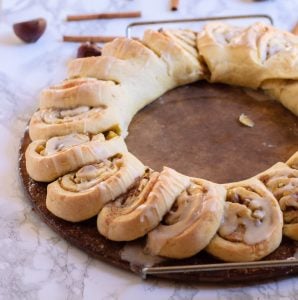
Chestnut Roll Wreath
This chestnut roll wreath is so much fun to serve to friends and family over the holidays. To make sure to have the best success with this, don't falter on how long you knead it for. I know that 10 minutes seems like a long time, but you'll really notice the dough smooth out and come together during that time. Also, if you're like me and choose to use a baking stone, make sure to place a sheet pan on the rack under it to catch any filling that may come off during baking.
Happy Cooking! 🙂
#BreadBakers
I want to say a super huge thank you to Stacy of Food Lust People Love for hosting this month’s #BreadBakers collection. #BreadBakers is a group of bread loving bakers who get together once a month to bake bread with a common ingredient or theme. Follow our Pinterest board right here. Updated links are also available on this home page. We take turns hosting each month and choosing the theme/ingredient. If you are a food blogger and would like to join us, just send Stacy an email with your blog URL to foodlustpeoplelove@gmail.com.
Sweetened Holiday Yeast Breads
Want to see some of the other delicious Bread Bakers recipes for this month? Here’s the list of all the recipes and the lovely bloggers who participated in this month’s theme of Sweetened Holiday Yeast Breads! Enjoy!
- American-Style Panettone from Passion Kneaded
- Beehive Bread from Sara's Tasty Buds
- Candied Fruit Sweet Rolls from Cindy's Recipes and Writings
- Chestnut Roll Wreath from Food Above Gold
- Chocolate Cherry Brioche Buns from Baking Sense
- Chocolate Swirl Babka from Cook's Hideout
- Cranberry Sweet Rolls from Food Lust People Love
- Estonian Kringle from I Camp in my Kitchen
- Finnish Nissua Bread from Gayathri's Cook Spot
- Fruit & Nut Sourdough from What Smells So Good?
- Ginger Orange Stollen from SpiceRoots
- Holiday Wreath with Sweet Nut Filling from Hostess At Heart
- Kugelhopf from Ambrosia
- Marzipan Stollen from Palatable Pastime
- St. Lucia Buns from Karen's Kitchen Stories
- Stollen Bread from Sneha's Recipe
- Sweet Milk Dinner Rolls from A Day in the Life on the Farm/
Chestnut Roll Wreath
Ingredients
Chestnut Roll Dough
- 1 cup warm water
- 1 tablespoon dry active yeast
- ¼ cup sugar
- 4 large eggs
- 4.5 cups All-Purpose Flour
- 2 teaspoon salt
- ½ cup (one stick) butter, , room temperature
Chestnut Roll Filling
- ½ cup (one stick) butter, , melted
- ½ cup sugar
- 2.5 teaspoon ground cinnamon
- ½ teaspoon cloves
- 1.5 cups roasted chestnuts, , chopped
Chestnut Roll Glaze
- 1 cup powdered sugar
- ½ teaspoon salt
- 2 tablespoon butter, , melted
- 1 tbsp pure vanilla extract
Instructions
Chestnut Roll Dough
- In a large liquid measuring cup or bowl (around 2 cups), combine the warm water, yeast, and granulated sugar. Let sit for 10 Minutes or until extremely foamy.
- Stir the yeast mixture to dissolve some of the foam, then add in the four eggs. Use a fork or whisk to lightly beat the eggs into the yeast mixture.
- In the bowl of an electric mixer fitted with the dough hook, combine the flour and salt and turn the mixer on low. Slowly pour in the yeast/egg mixture, turning up the speed of the mixer as needed to facilitate incorporation, until combined.
- Add in the room temperature butter, one tablespoon at a time, until the dough is completely formed. The dough should be tacky to the touch, but should not leave dough behind on your hands when you touch it. If it does, add additional flour a tablespoon at a time until the right consistency is reached.
- Once the dough is formed, continue to knead on a medium-low speed for 10 Minutes.
- Cover the bowl with a warm, damp cloth and set it in a warm area to rise for 1 Hour, or until the dough has doubled in size.
- Punch down the dough until it has deflated and cover the bowl with plastic wrap and refrigerate overnight.
Chestnut Roll Filling
- The next morning, In a small bowl, combine 6 Tablespoons (¾ of a stick) of the melted butter with the granulated sugar and spices. Set aside.
Chestnut Roll Wreath Assembly
- Roll the chestnut roll dough out onto a floured surface or large silicone mat until it is about a 15"x12" rectangle.
- Pour the butter, sugar, and spices mixture onto the rolled out dough and use the back of a spoon to spread out the mixture and then sprinkle the chopped chestnuts on top.
- Starting on the long side of the dough, work from one side to another like a typewriter, and roll the dough up firmly, continuing until the entire roll is complete. Pinch together the seam.
- Transfer the dough to a sheet pan lined with parchment paper or a silicone mat (or on a baking stone). Using a very sharp paring knife, Flatten the ends of the roll by trimming away the excess dough. . Rotate out the first roll so that it is laying flat against the pan. Create the rolls by ¾ of the way through the dough at one-inch intervals.
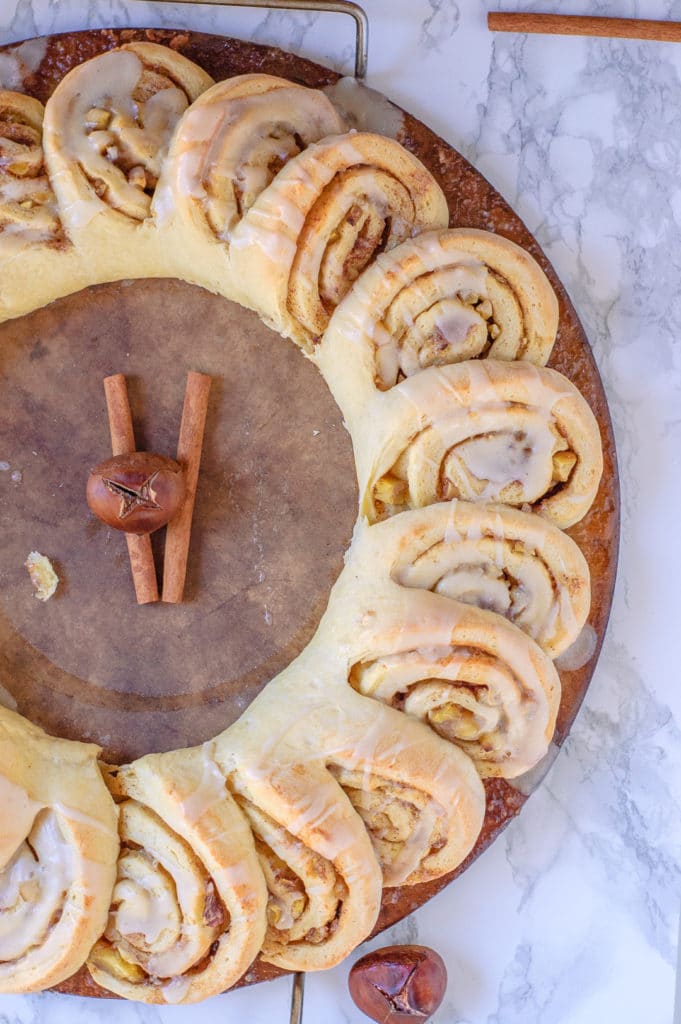
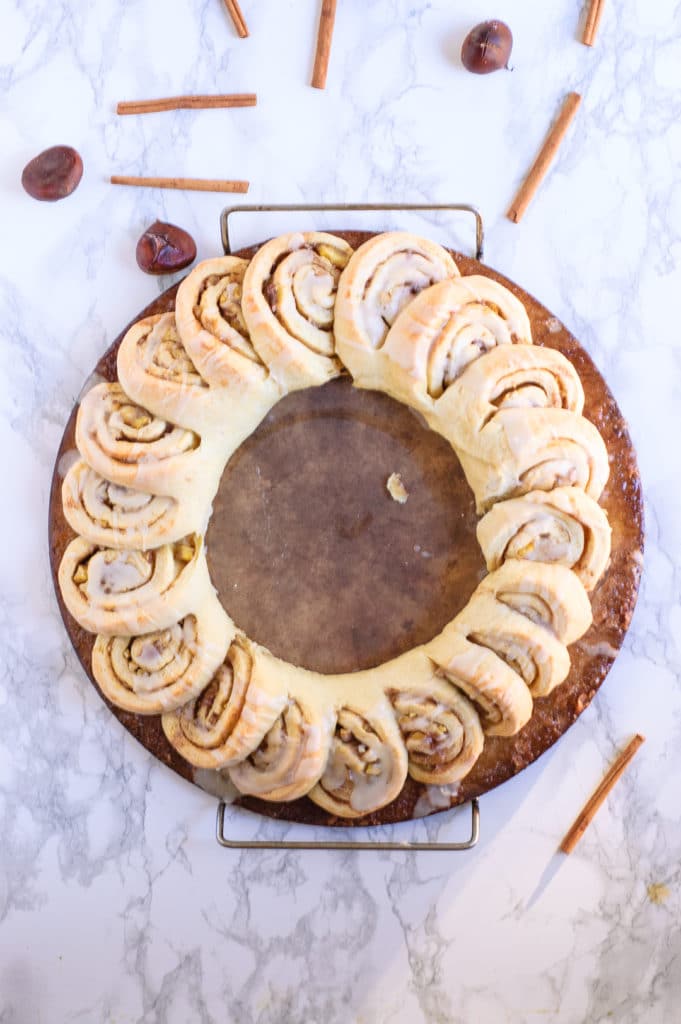
- Carefully continue turning out each roll one at a time, allowing them to slightly overlap the one before it. As you turn out each chestnut roll, turn the roll slightly so a circle shape is formed. When you get to the last roll, gently tuck it under the first one you made to complete the circle.
- Place an oven safe circular container that is slightly smaller than the wreath in the middle of the dough. Brush the top of the rolls with the remaining 2 tablespoons of melted butter and let rise for 30 Minutes.
Bake
- Preheat the oven to 350°F. Bake the chestnut roll wreath for 30 Minutes or until lightly browned. Once the chestnut rolls have come out of the oven, allow them to cool on the pan for 5-10 minutes.
Chestnut Roll Glaze
- In a liquid measuring cup, combine melted butter, vanilla extract and salt. Sift in the powdered sugar and use a small whisk or fork to combine. Use milk as necessary (around 2 tablespoons) to get to your desired consistency.
- Spread or sprinkle the glaze over the warm chestnut rolls and serve immediately.
Sarah Reid, CNP says
My family LOVES chestnuts. I'd be interested to see what a tablespoon of chestnut flour added to the dough too
Mackenzie Ryan says
It would definitely up the chestnut flavor Sarah. This recipe isn't too strong with chestnuts, so even someone who isn't very sure about them can enjoy it without being overwhelmed. As a lover of chestnuts though, it bet it would be greatly amplified with that addition!
Wendy Klik says
Just gorgeous. This would be the perfect accompaniment to my brunch table on Christmas .
Mackenzie Ryan says
I love hearing that! I hope you get to to try it!
Julie says
This bread is so beautiful. I've never used Chestnuts before but love the idea!
Mackenzie Ryan says
Thank you, Julie! I find chestnuts tend to be a hit or miss food for a lot of people. If you're like me, you may not like the plain, but you'll LOVE them in stuff like this!
Anjali says
what a perfect idea for a party or breakfast spread! it looks lovely and festive!
Mackenzie Ryan says
I hadn't considered using this for a party - but it would certainly make for an excellent dish! Great idea!
Ilona says
Lovely video and the wreath looks so delicious. Great for holidays!
Mackenzie Ryan says
Thank you for the kind words about the video! I really appreciate it! 🙂
Matt says
Such a fun idea and beautiful wreath! That wouldn't last long in my household for sure.
Mackenzie Ryan says
Every time I make it I tell my husband he should take the leftovers (which are ample) to work with him the next day. Every morning I wake up and they are gone but never make it to his work... 🙂