
Learn how to make a tangy and flavorful hollandaise sauce. Plus, learn how to troubleshoot it and the ULTIMATE BROKEN HOLLANDAISE RECOVERY HACK!

We're almost done going through the 5 mother sauces for #saucesome March - and we're starting to wrap it up with our penultimate sauce - Hollandaise Sauce! This one is definitely the most difficult of the sauces, taking a much more practiced hand for it's success, but the end result is a luxurious, full-bodied sauce that is fantastically impressive and remarkably delightful.
What Is Hollandaise Sauce?
Established by Auguste Escoffier in 1902 as one of the five french mother sauces, like Velouté, the origin of Hollandaise is unknown, but you've probably had it (or seen it) served on delicious breakfasts, with asparagus, or heard Mrs. Patmore talking about it on Downton Abbey.
Hollandaise, unlike the rest of our mother sauces, is made by using eggs and butter instead of stock or milk. Hollandaise sauce holds the trophy for being the most impressive of the mother sauces because it can easily go south if even just a few things are altered. Whether it be the amount of acid, the amount of heat, or the amount of liquid. Similar to baking, Hollandaise needs precision for perfect execution.
Broken Sauces
Like I mentioned before, Hollandaise is a difficult sauce because it's easy to mess up, giving you a broken and separated sauce that is grainy, tastes funny, and just looking at it makes you say "Ew" (complete with Jimmy Fallon accent). The goal of Hollandaise is to break down the liquid (through whisking) into particles so tiny that they can't separate from the egg yolks; this takes time and focus to achieve. If you're not careful, you can "break" the sauce - which is when it separates. This can occur in a few different ways:
- Too Fast. If you pour your butter into the egg too quickly your whisking won't break up the liquid quickly enough, preventing the emulsification process.
- Too Much Acid. If you have too much acid in your eggs, it will cause your eggs to curdle. If your eggs have curdled, then they can't do the job of emulsifying.
- Too Slow. It sounds like you can't win for losing, but if whisk too slowly, your liquid won't be able to break down into the tiny particles either.
TIP: For better endurance when whisking, try holding the whisk underhanded, using your forearm to do the work, not your wrist.
- Too cold. If you don't get your eggs warm enough, they won't cook. When the eggs don't cook, the sauce doesn't thicken.
- Too hot. If you get the eggs too hot, you'll scramble them - which prevents emulsification and leaves you with a slop that can't be recovered.
If you're really nervous about making Hollandaise sauce, don't let this list stress you out. At the bottom of this post is a troubleshooting guide that will help you out if something begins to go wrong.
Whole vs. Clarified Butter
This is one of the great debates when it comes to making Hollandaise sauce. Traditionally, clarified butter is what is used because the water content has been evaporated out of it, allowing for the sauce to be thicker and more easily emulsified. This doesn't mean that whole butter is a bad choice, though. If you're craving Hollandaise, but don't want to take the time to clarify your butter - you can absolutely still make it with whole butter, it will just be a little thinner. The recipe I've given you today uses clarified butter, but if you would like to use whole butter, you'll need 25% more butter (½ pound instead of 7 oz.) to get the correct consistency.
Skills & Techniques
If you're ready to own Hollandaise and make it fear you, then make sure to read some of these other related articles on the necessary skills & techniques to make your Hollandaise sauce the best ever.
- How To Make Clarified Butter : As the second ingredient in the sauce, you'll want to make sure to make some before starting your Hollandaise.
- How To Buy & Store Eggs : Make sure to get high quality eggs, and understand the grocery lingo for eggs.
How To Make It Better
There really isn't much to focus on here, because with a Hollandaise the focus is usually more on keeping it together rather than making it better.
- Seasoning. Most of the time, Hollandaise is perfect as-is, but there are a considerable number of people out there who find that a Hollandaise tastes better finished with some cayenne. If you would like to do this, just add in a dash or two before seasoning with salt & pepper to make sure you get your balance correct.
- Made To Order. Hollandaise is best served right after making it. This can be annoying if you're preparing it for a huge brunch and want to do it ahead of time, but the sauce just doesn't have the same zing to it when it's been reheated. I highly recommend doing the blender method (see below) if you are low on time, but if you absolutely need to make it ahead, the easiest way is to treat it like your sauce is broken and do the "ULTIMATE BROKEN HOLLANDAISE RECOVERY HACK" that is in the troubleshooting section. The problem with this is that it still takes considerable time to do. As an alternative, you can make it up to 2 hours before serving and just keep it warm in a bain-marie over very low heat, whisking as it comes up to temperature. Just place a towel between the bowl and the pot, and let it sit until service, whisking occasionally.
- Nix The Bain-Marie. There are plenty of Bain-Maries out there that you can purchase, and they are nice because they are designed to fit into each other for easy storage - but sometimes your sauce can get stuck in the edges when you're heating it up. Instead, try using a Windsor Sauce Pan or just a bowl on top of your pot (make sure it hangs over the sides and the water doesn't touch the bowl when it simmers). Both will give you sloped sides that make it easier to reach all of the sauce with your whisk.
- Metal on Metal. This is a bit of a weird one, but did you know that when you scrape metal on metal repeatedly it can cause your Hollandaise sauce to turn gray? It's true! Instead, try using a glass bowl (make sure it is designed to handle the high temperatures of the simmering water) with your metal whisk, or a non-stick whisk with your stainless-steel bowl.
- Smarter Whisking. My tip in the "broken sauces" section covered endurance when whisking, but you also want to make sure to lift your whisk with each stroke to allow air for better texture. If you are just scraping the bowl with your whisk, you may have a hard time getting it get to the sabayon ribbon stage before it cooks too much. Another thing that may help with that is using a good balloon whisk, like this one from Williams-Sonoma. It has a larger bell to it and has notches that catch the sauce and bring it up with each stroke to help better incorporate air.
Troubleshooting Hollandaise
If for some reason, something just happened to go wrong while you were making your Hollandaise sauce, check the resources below to see if one of these will help you fix your problem before you throw it out. . .sometimes it can be recovered!
If none of the these tips work, you can try using this "ULTIMATE BROKEN HOLLANDAISE RECOVERY HACK". It's a pretty awesome hack that works really well - so I felt it earned the all-caps title 🙂
To recover a broken Hollandaise: Warm a clean bowl over a pot of almost simmering water then add in 1 tsp. of lemon juice or water. Vigorously whisk in 1 tsp. of your broken sauce until the mixture begins to get foamy. Repeat this several times, or until the sauce begins to form again. Reincorporate the broken sauce in a thin stream, while whisking quickly, until the sauce is recovered.
Blender Hollandaise
There are some pretty neat tricks out there for making 2-minute or "foolproof" Hollandaise, and I'm going to be straightforward with you - the blender trick really does work. Not everybody has an immersion (stick) blender at home, so it may not be the right fit for you, but if you have one - give it a shot! If you have a really high-powered countertop blender at home (like a Vitamix) you can do this same thing with that blender - just make sure to use the lid because it may whip the sauce around a little more than the immersion blender would.
To make a blender Hollandaise Sauce:
- Heat your butter until just melted and let it cool for one minute.
- Place your lemon juice and egg yolks in a tall container with a bottom only a little bit wider than the immersion blender.
- Blend the lemon juice and egg yolk until it becomes a light yellow color, about 1 minute.
- Slowly add the melted butter in a thin stream while the immersion blender is running until completely combined.
- Voila! Your blender Hollandaise is ready to serve. Just add in some cayenne, salt, and pepper to taste and you are ready to go!
The reason this sauce works is because the heat created by the friction of the immersion blender "cooks" the egg yolks and creates the ribbon stage while breaking up the liquid into tinier particles than we can with a whisk. As a result, you can use whole butter much easier when making blender hollandaise than you can when you make it by hand. Just remember, you'll need a ½ pound of butter to create a similar consistency to a recipe that uses 7 oz. of clarified butter.
Mother Sauces : The Series
This is the second to last sauce is our #saucesome March series, and I hope you are learning a lot and enjoying trying the 5 French Mother Sauces. If you'd like to learn about the others, this is part 4 of a 5-part series, and you can check out them all below!
- Part 1 : Tomato Sauce
- Part 2 : Espagnole Sauce
- Part 3 : Velouté Sauce
- Part 4 : Hollandaise Sauce <--- you are here 🙂
- Part 5 : Béchamel Sauce
Hollandaise Sauce
*Note: When working with raw eggs, remember that there is always risk of food-borne illness. Consult a doctor right away if you begin to feel sick.
Happy Cooking! 🙂

Mother Sauces : Hollandaise Sauce
Ingredients
- 7 oz clarified butter, , warmed
Flavored Acid
- ⅛ teaspoon black peppercorns, , crushed
- ⅛ teaspoon salt
- ¾ oz white vinegar, , or white wine vinegar
- ½ oz cold water
Sauce
- 3 egg yolks
- 1-2 tablespoon lemon juice, , to taste
- salt & cayenne , , to taste
Instructions
Flavored Acid
- In a small sauce pan, combine the peppercorns, salt, and vinegar and reduce until it is almost dry. Remove from the heat and add the water. Transfer to a bain-marie or a clean stainless-steel or glass bowl on top of a pot of lightly simmering water. The bowl should not touch the water.
Sauce
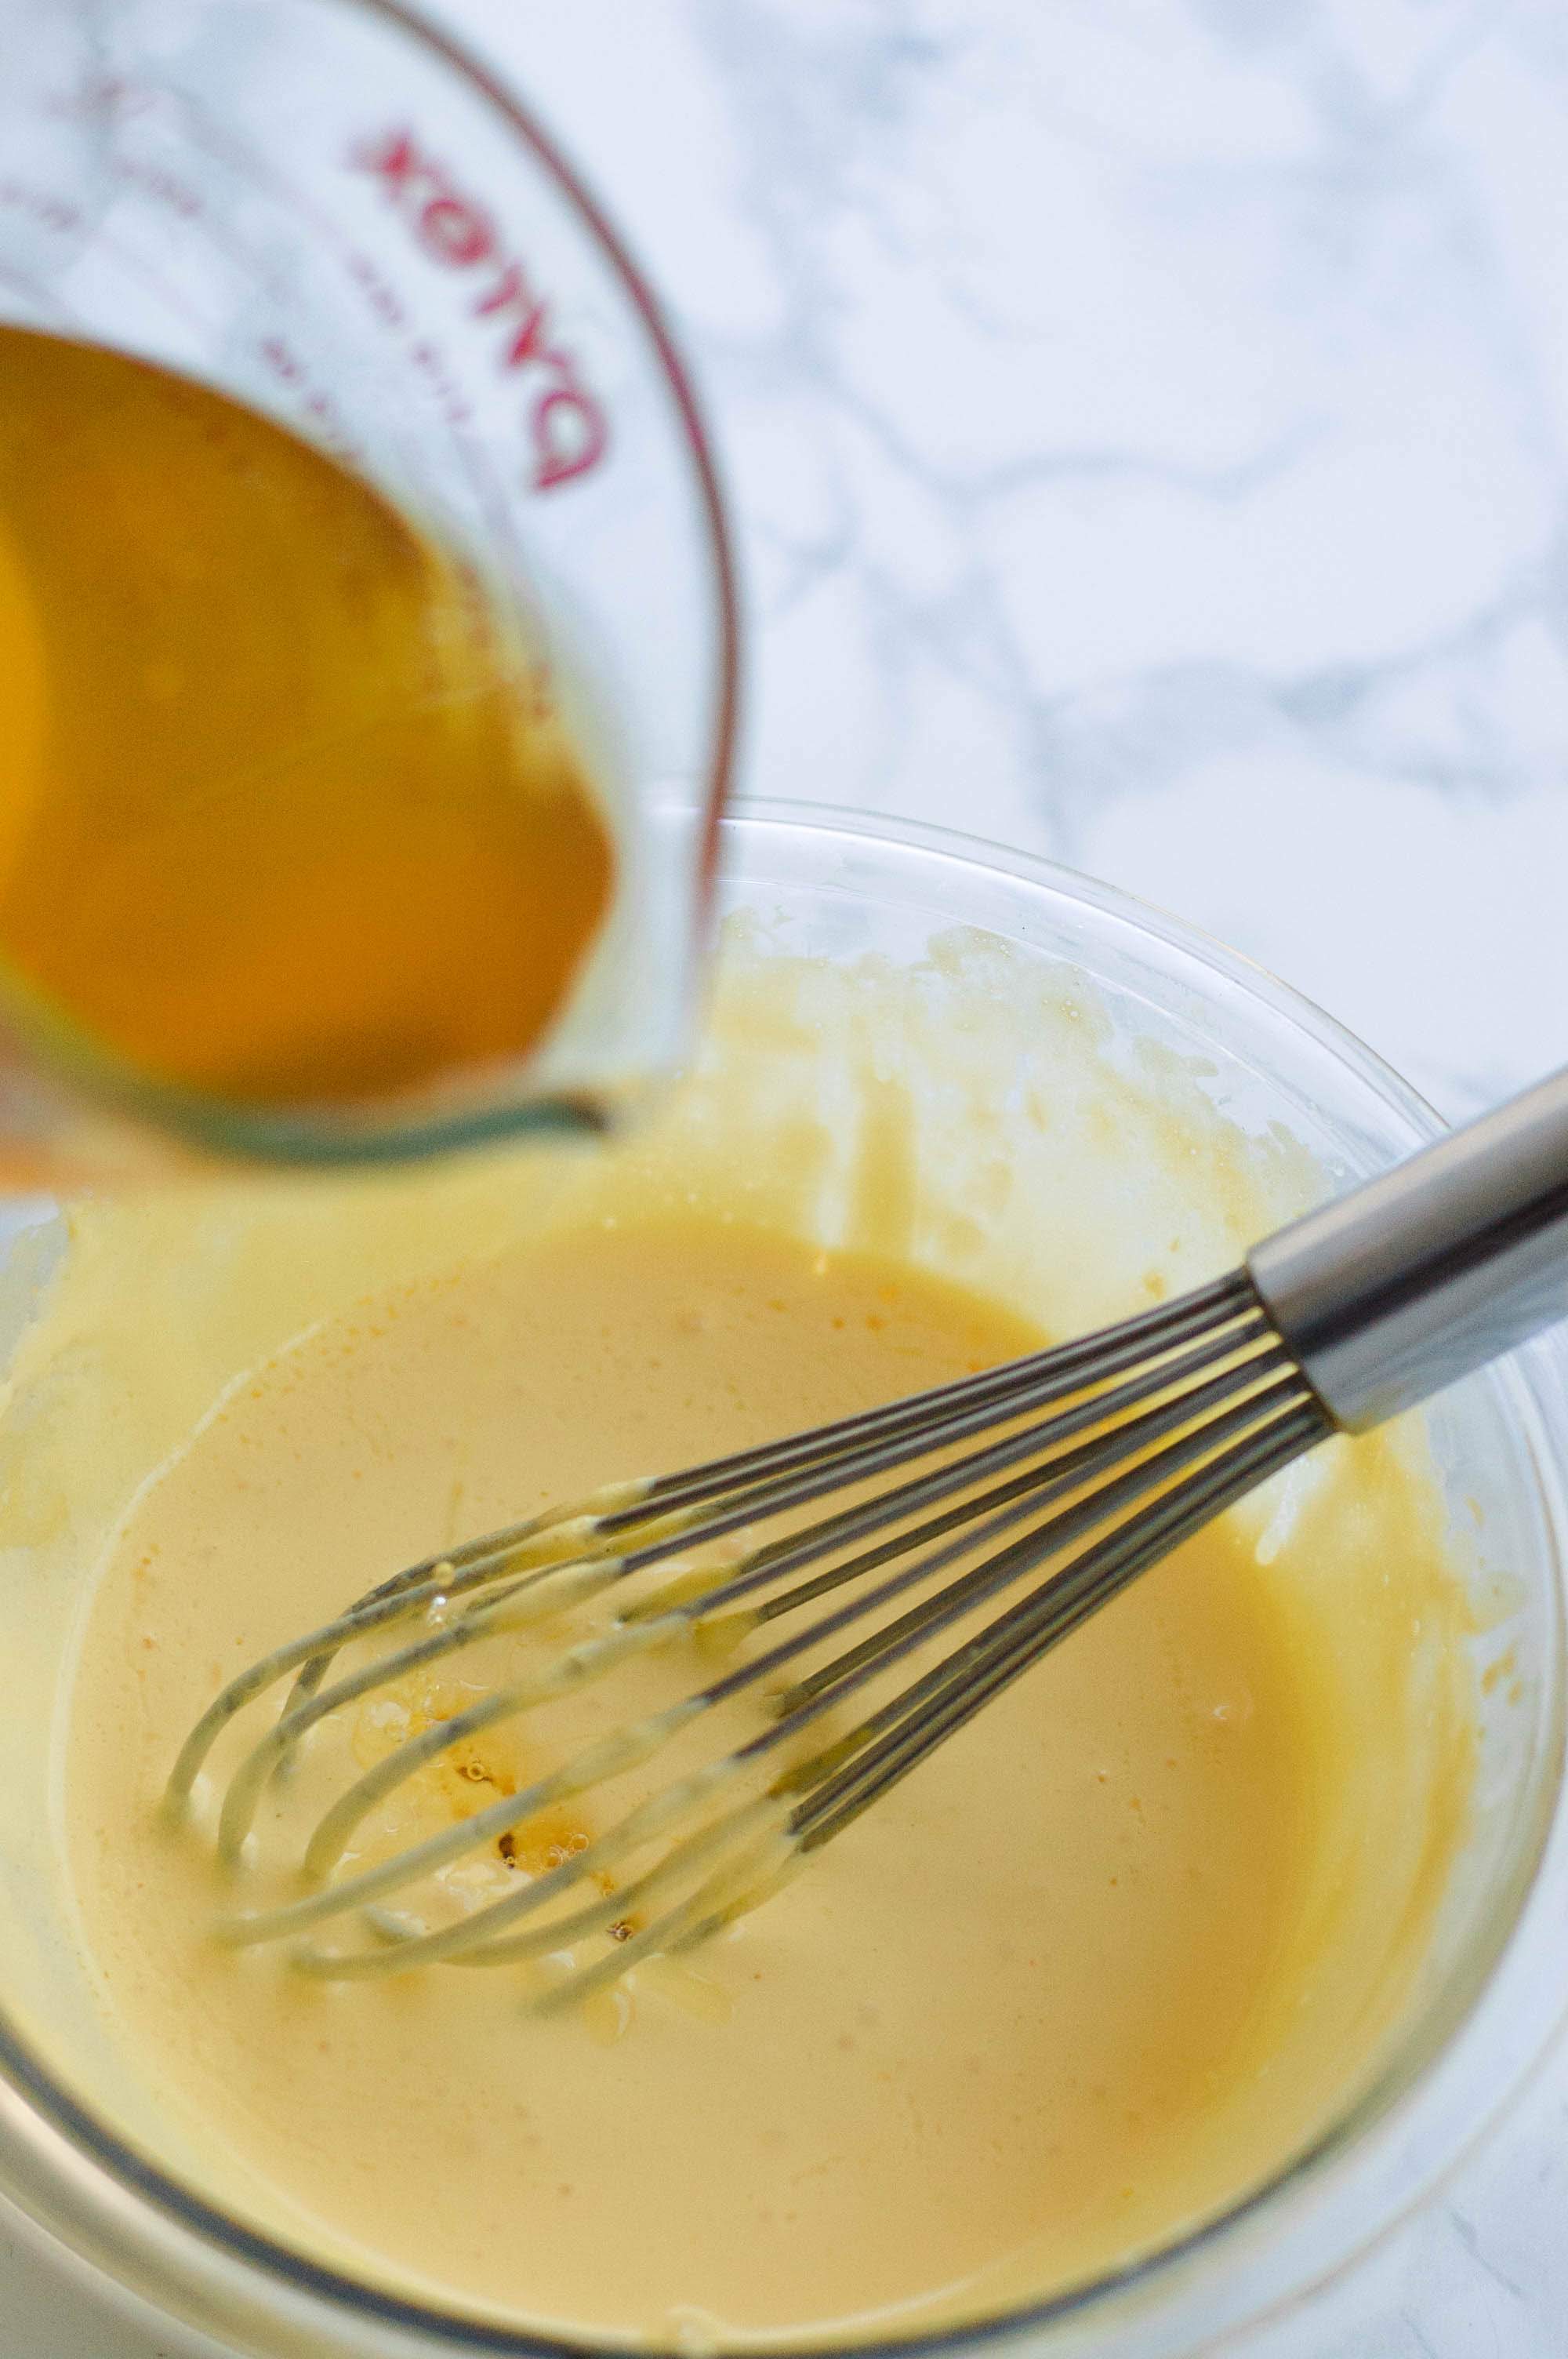
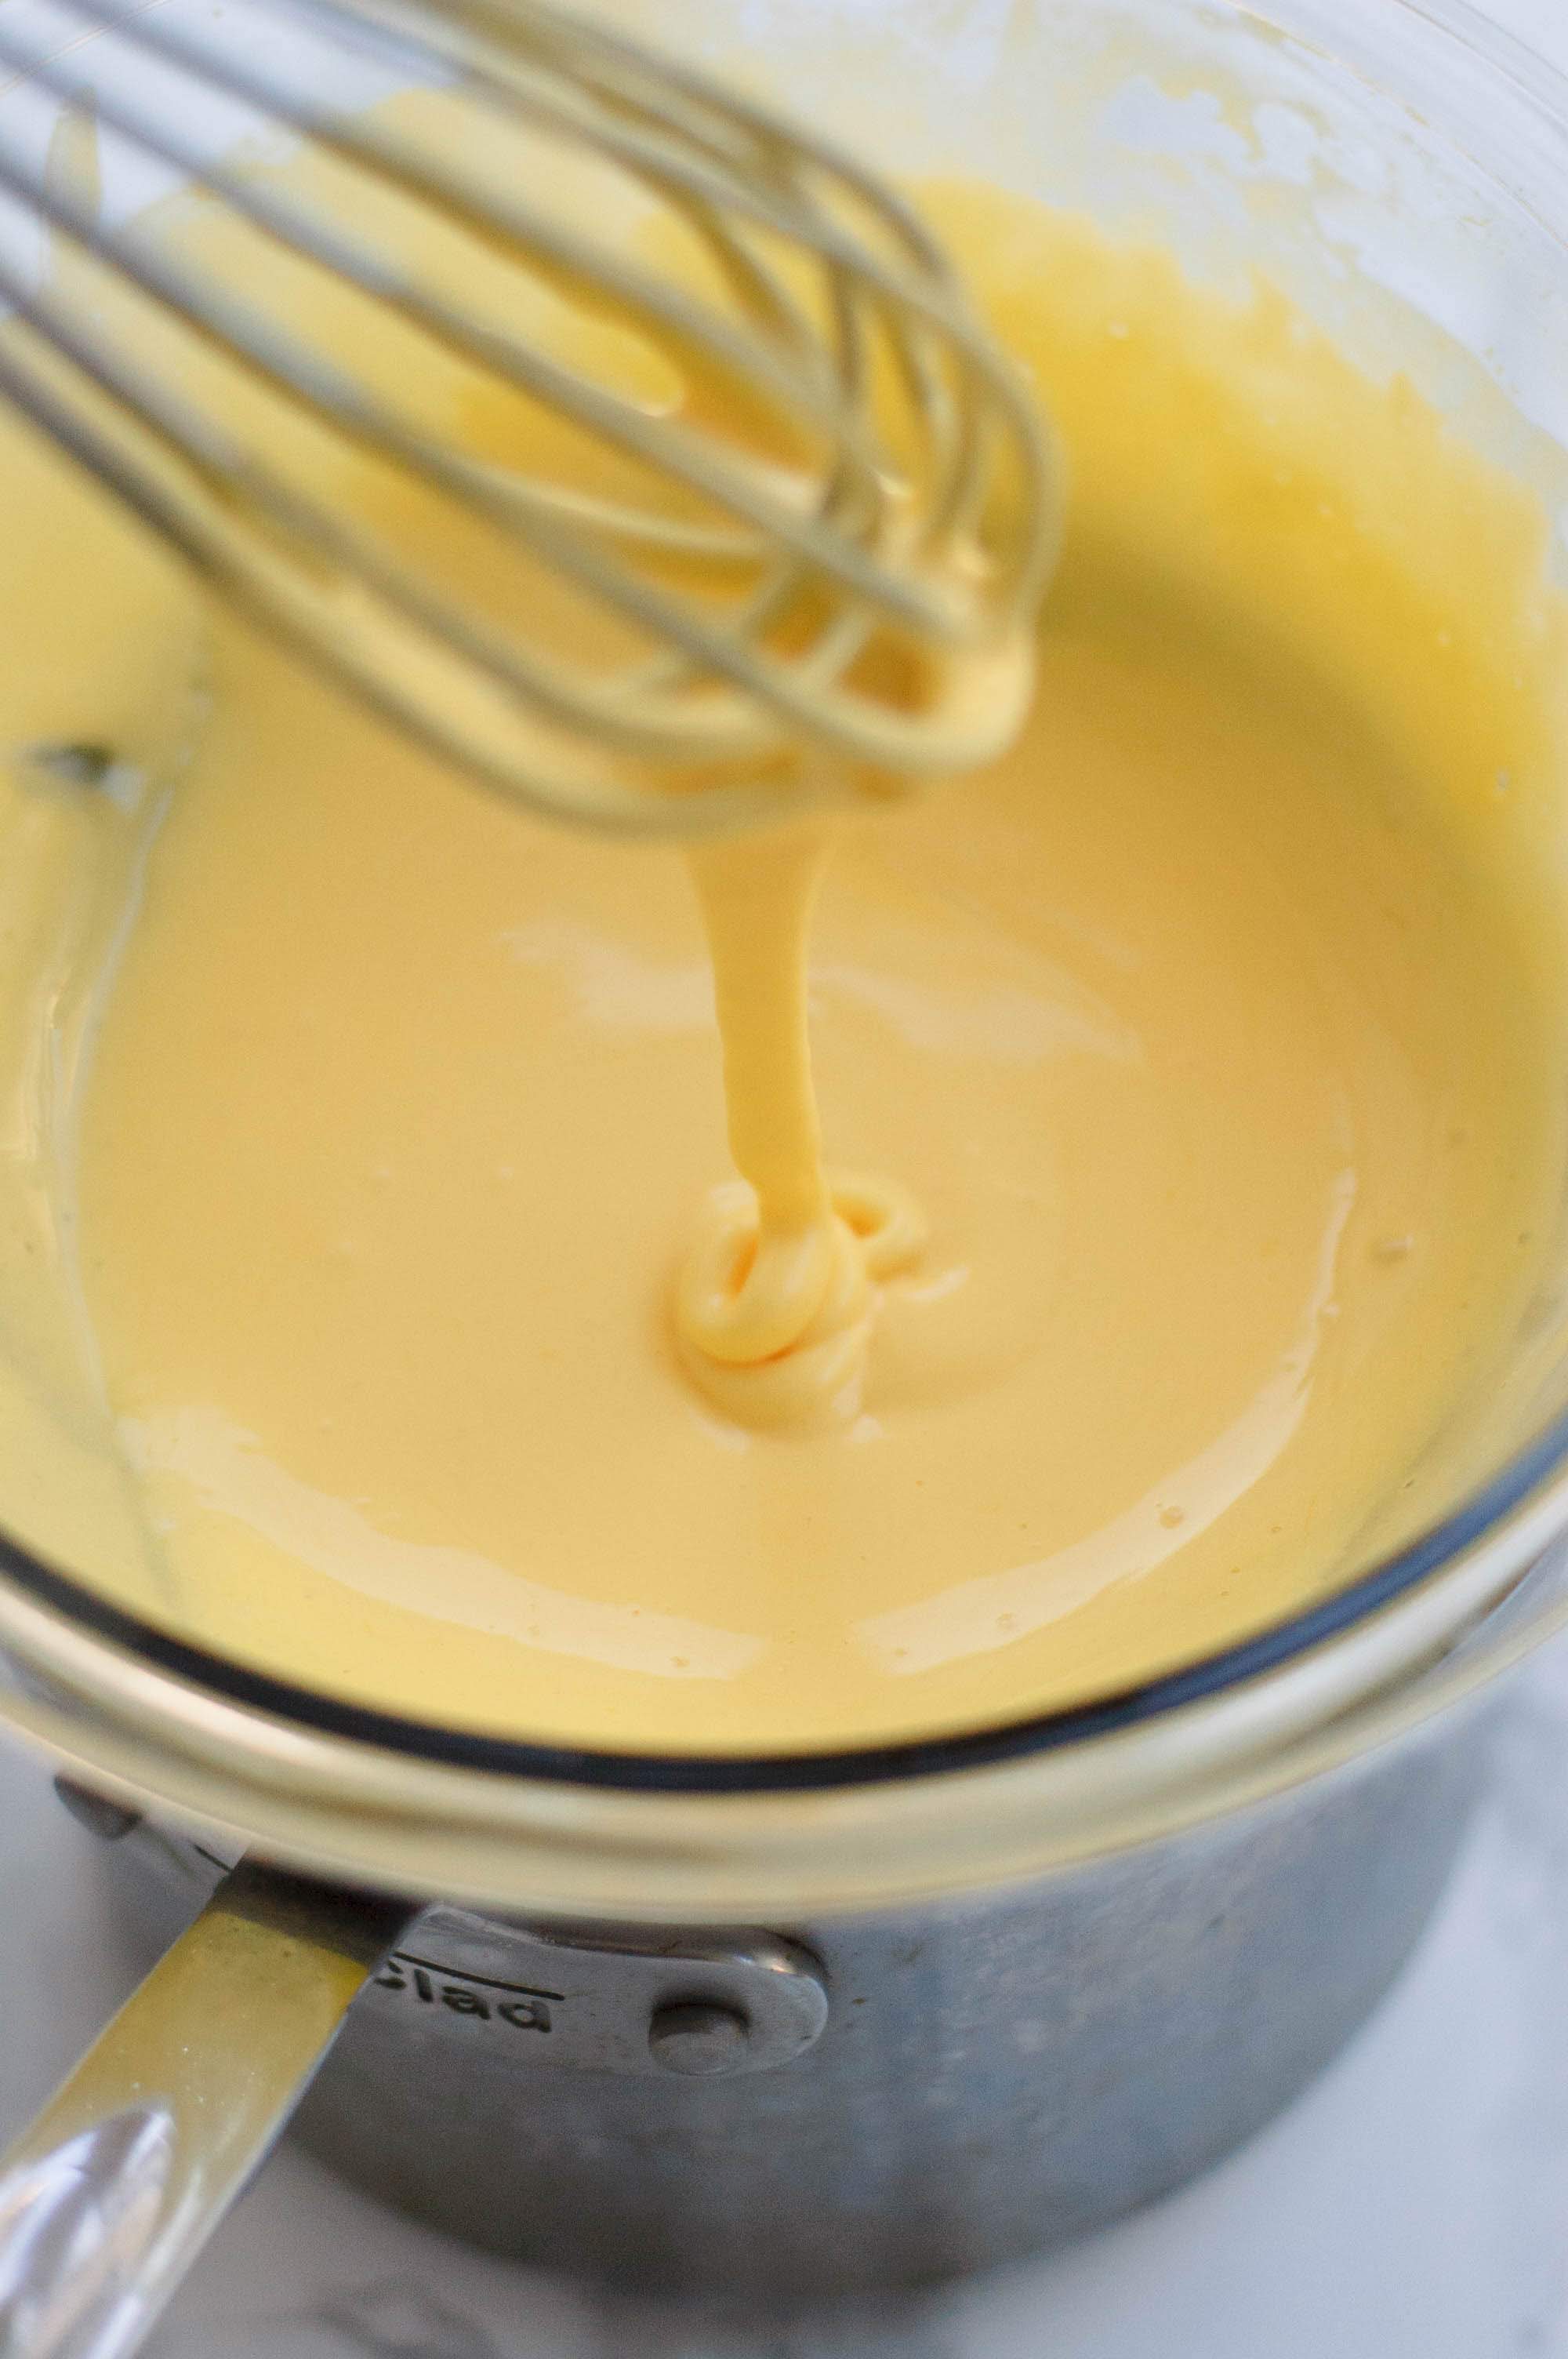
- Add the egg yolk and beat with a whisk until they have become thick and creamy - reaching the sabayon stage - leaving behind ribbons when the whisk is lifted out of the egg yolks.
- Remove the bowl from the heat and use a ladle to slowly beat in the warm clarified butter - adding it little by little until the sauce begins to thicken and take form. Then your stream can be increased to a steady thin stream. If the sauce starts to get too cold, return it over the heat briefly or whisk in a few drops of hot water.
- Beat in the lemon juice to taste and adjust for seasoning with the salt and cayenne.
Kylee @ Kylee Cooks says
"For better endurance when whisking, try holding the whisk underhanded, using your forearm to do the work, not your wrist."
GAME. CHANGER!! I actually sat here at my desk... and mimicked the action. OMG, I've been doing it all wrong!!
Mackenzie Ryan says
I know, right! When I first learned that trick I must have had a dumbfounded look on my face for at least an hour. It just makes so much more sense! Plus, it will totally change the way you make whipped cream by hand - so much faster!
Razena says
I love love love a smooth and silky hollandaise sauce, but to be honest I've never made it myself. I am going to try your recipe when I'm back home next week.
Mackenzie Ryan says
Ooh I'm so excited, Razena! Let me know how it goes! 🙂
Tanvi Rastogi says
Appreciate the details and effort int his post. Xx
Mackenzie Ryan says
Thanks Tanvi! I'm glad you stopped by! 🙂
Mary Ellen says
Great post!! Love all the tips and troubleshooting
Mackenzie Ryan says
Thanks, Mary Ellen! I'm glad you stopped by! 🙂