

Scalded milk is an old fashioned way to kill off potentially harmful bacteria in dairy. Even though pasteurization is widely available, scalding milk still has endless benefits in all facets of cooking and baking.
Before pasteurization of milk became common, vintage recipes used scalding to kill bacteria in dairy products. Now, it’s more commonly used to improve texture and reduce cooking times. It is also used to infuse flavors, such as vanilla beans, spices, or citrus peel. Scalded milk is also used for making ganache as well as killing off harmful bacteria in eggs when making a custard base for ice cream.
What Is Scalded Milk?
Scalded milk is when milk is brought close to a boil, reaching 180°F, before removing it to cool. It helps improve the texture of baked goods, infuse flavors, melt butter and sugar, and reduce the cooking time of sauces.
Why You Should Use It
With a white sauce, like Béchamel, using scalded milk drastically reduces cooking time. When you bring cold milk to a simmer, you have to stir frequently to prevent scorching. However, starting with warm warm liquid reduces the likelihood of burning because you don’t have to contend with temperature changes. While it may seem like a nuisance to add additional scrubbing, it’s easier to clean a pot of scalded milk than a pot of burnt sauce.
With bread making, scalding milk is similar to proofing yeast for dough. In fact, some dough recipes call for scalded milk in place of water to give the dough extra flavor and improved texture. (Like my brioche hamburger buns.)
Normally, the whey proteins in milk weaken the gluten and prevents the dough from rising properly. By destroying those proteins, your bread recipes become airier, crustier and more rustic.
In baked goods like cake, using cooled scalded milk makes it springier and lighter. Since scalding denatures the proteins, the milk doesn’t work as a binder for the cake, but rather as a way to add flavor, texture, and moisture.
How Long Does It Take To Scald Milk?
Once you know how to scald milk and what you’re looking for, the process is expeditious. Depending on how much you need, scalded milk only takes about ten minutes to prepare. You can prevent scorching by decreasing the temperature, however this does mean you’ll linger around your pot longer. You can also quicken scalding by using a higher heat, however, this makes it more likely that you’ll overcook or burn your milk.
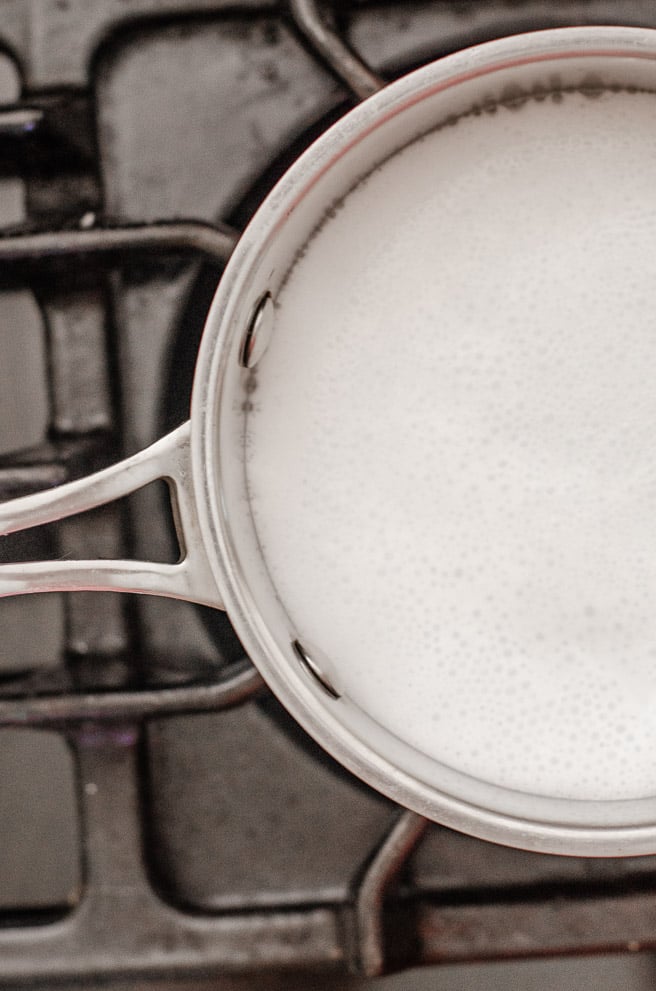
TIP: If you don’t have a thermometer on hand, you can visually know if the milk is scalded because it develops small bubbles on the outside edge and gets a very thin film on top.
If you’re keeping an overly watchful eye and stirring too frequently, it can be hard to notice the bubbles or film because you are stirring them back into the milk. It’s okay to pause when you’re near the right temperature and assess whether those have begun to form. As long as the milk doesn’t simmer, you’re safe.
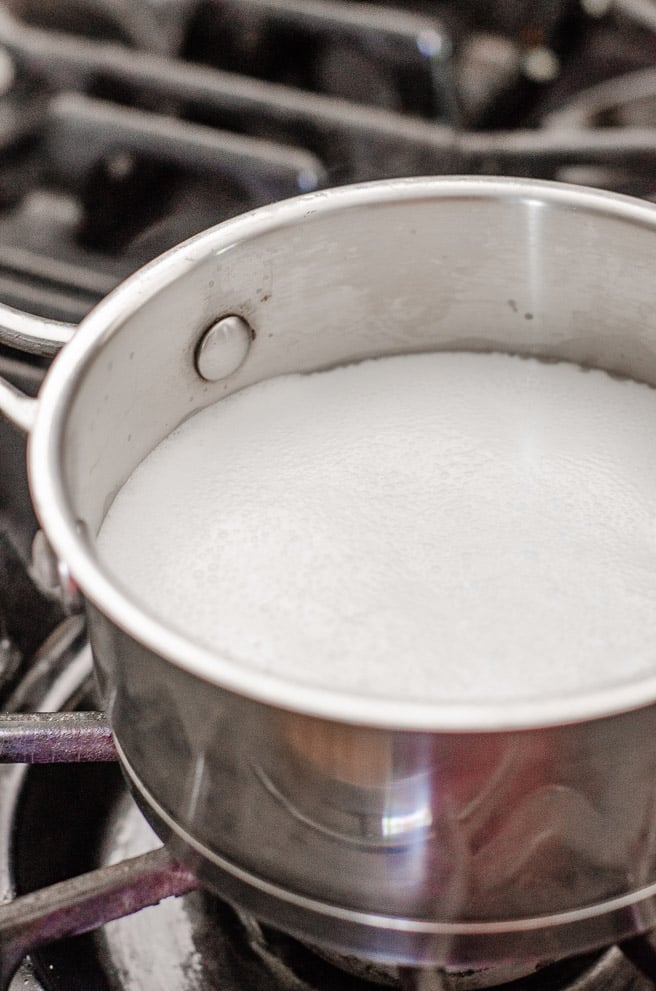
How To Scald Milk
Making scalded milk is actually very simple, and only takes a few minutes. Use a well made saucepan with even heat distribution for best results.
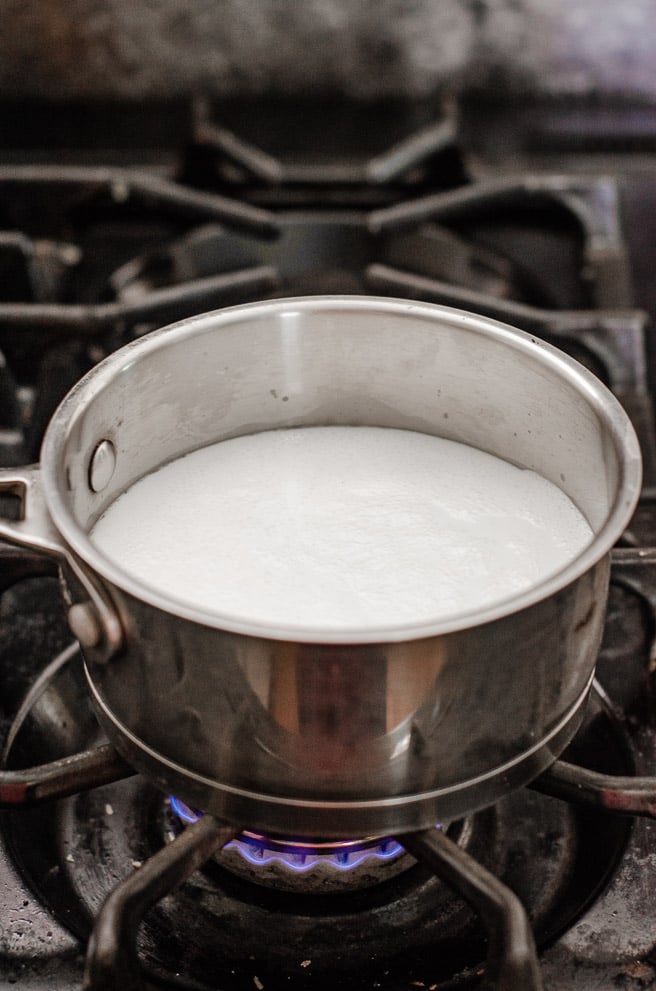
- Set a heavy bottomed pot with cold milk over medium heat.
- Stirring frequently, bring the milk to 180°F.
- Try to maintain the temperature at 180°F for 10-15 seconds before removing it from the heat, adjusting the heat as necessary.
- Allow the pot to cool just slightly before use.
Can You Scald Milk In the Microwave?
Yes, you can. However, starting and stopping a microwave to take the temperature can be tedious. Not to mention, you give up control over the temperature making it really easy to rapidly go over the target 180°F. Plus, if you accidentally go over and get it to the boiling point, it will overflow and make a mess of your microwave.
For the best success, microwave the milk at three quarters power, or 70%, whichever your microwave does. Place your cold milk into a microwave safe container and heat the milk in fifteen second bursts.
How To Clean Scalded Milk From A Pan
Everyone’s been there, and nobody likes it. Cleaning scalded (or burnt) dairy products from the bottom of a pan is daunting. Don’t stress, though. It’s easier to clean than you might think.
To clean scalded milk from a pan, fill it with water and ¼ cup of baking soda. Set it on high heat and boil for 5-10 minutes. Shut off the heat, and soak the pot until the water comes down to room temperature. You should be able to scrub your pot like normal at this point.
For extra help, the scalded milk should be released from the bottom of the pan with an abrasive sponge. If this doesn’t work, try using some Bar Keepers Friend. It’s the best stuff ever!
I hope this has been helpful.
Happy Cooking! 🙂
What are your thoughts?