Take your dessert game to the next level and learn how to make graham cracker crust from scratch. The process is simple, but small alterations can completely change the flavor.
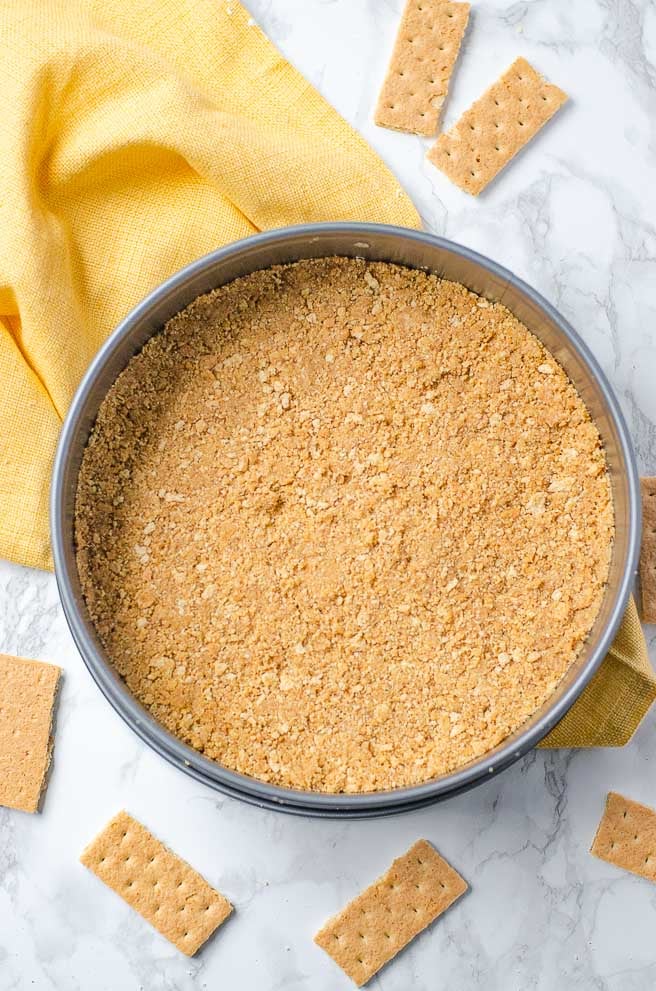
A well made graham cracker crust is moist and not crumbly. Use it to make cheesecake, a no-bake dessert, or my mile high s’mores pie. With this easy homemade graham cracker crust recipe, you’ll never use store bought crust again.
How To Make Graham Cracker Crumbs
The first step to make a graham cracker crust is to have graham cracker crumbs. (Also known as graham wafers or digestive biscuits.) These are available for purchase in almost any grocery store, but you can quickly make them at home as well.
If you have a food processor, pulse about 7-8 graham crackers until they are finely crushed. This should make about one cup of graham cracker crumbs.
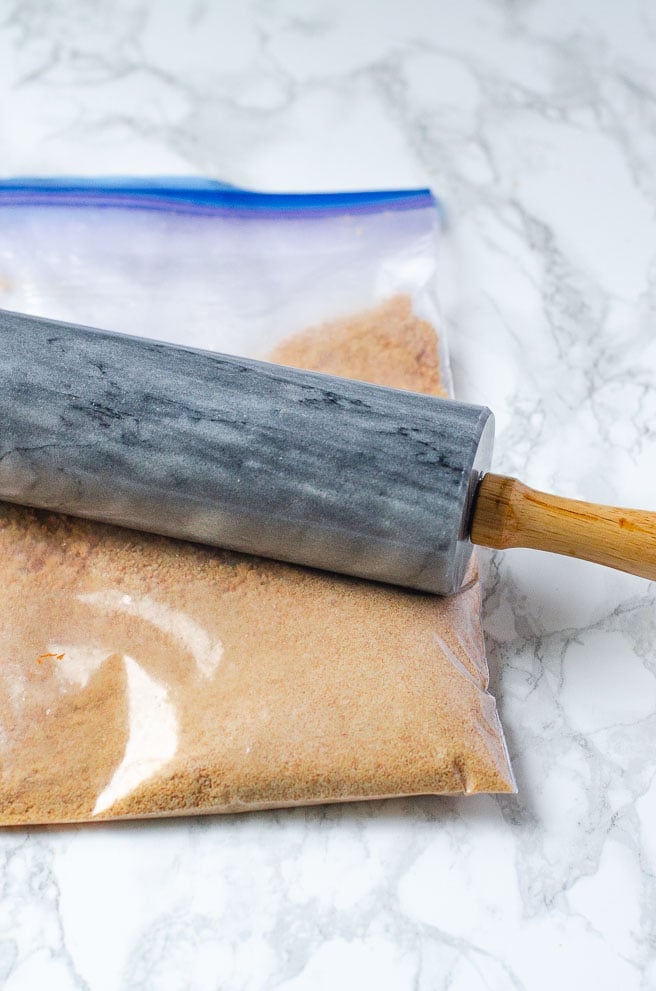
If you don’t have a food processor, don’t fret. As long as you have a plastic bag and a rolling pin, you can create the same effect. Put 7-8 graham crackers into a gallon sized plastic bag and seal it. Roll the rolling pin on top of the sealed bag until the crackers become are finely crushed. Try to get the graham cracker crumbs as uniformly crushed as possible. If your sizes vary too much it can cause the crust to crack.
How To Make Graham Cracker Crust Stick Together
A perfect homemade graham cracker crust holds its shape and doesn’t crumble. This is done by having the correct ratio of butter to graham crackers. The tricky thing with this though, is that that every brand of graham crackers is different. Some may need more butter than others to achieve moisture perfection.
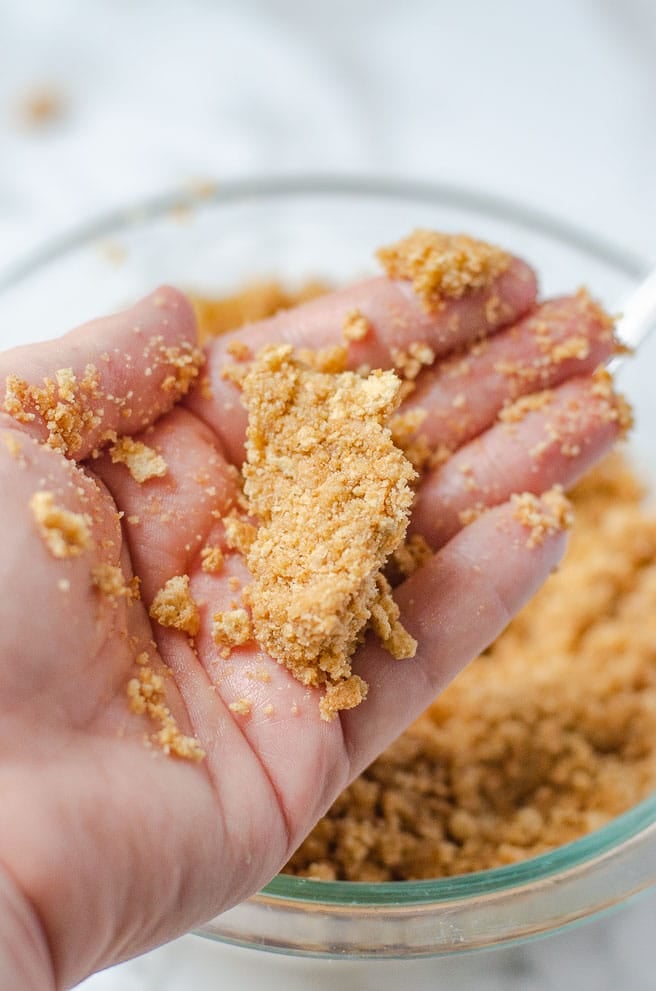
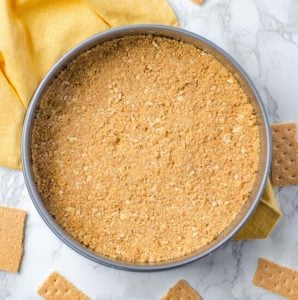
As a rule of thumb, you should use three tablespoons of butter to each cup of graham cracker crumbs. Once the melted butter is stirred in, the graham cracker mixture should clump together when squeezed. However, it shouldn’t be so so wet it clings to your hand.
If you added the right amount of butter but your graham cracker crumbs don’t stick together, move on to water. Usually, this is the result of a drier graham cracker. Add one to two teaspoons of water to make your crust stick together.
How To Make Graham Cracker Crust No-Bake
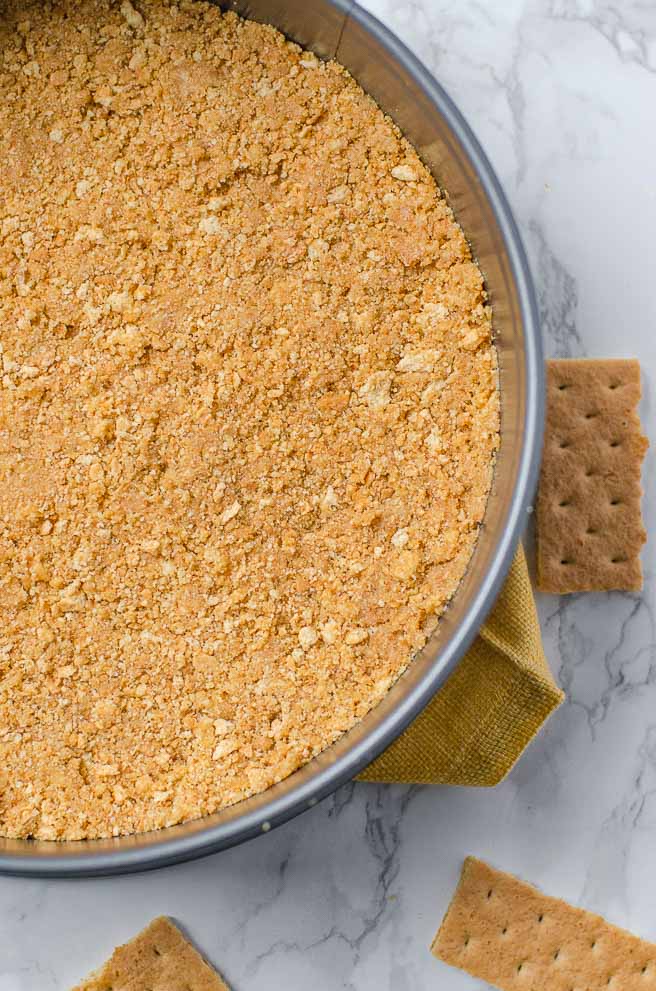
Other than needing to be refrigerated, no bake graham cracker crusts don’t vary from the standard. Once the graham cracker crumb mixture has the right consistency, push it down into the pie plate or springform pan. Place it in the freezer for one to two hours, or until the crust is hardened.
Once you add the filling to the crust, keep the crust refrigerated. The cold temperature is what keeps it held together. If it gets too warm, the butter will soften and the crust will become crumbly.
How To Make Graham Cracker Crust With Sugar
Not all graham cracker crusts should be sweet. In fact, when a homemade crust is overly sweetened, it quickly distracts from the dessert.
However, if you want to make a graham cracker crust that is sweet, use a sugar that corresponds with the filling. For example, if you’re making a cheesecake with white sugar, use white sugar in your crust. If you’re making a graham cracker pie crust for a pie that uses brown sugar, use brown sugar.
Adding sugar in a 1:3 ratio will give you a lightly sweetened graham cracker crust. Add ⅓ cup of sugar for every cup of graham cracker crumbs you add. In addition to this, you’ll need an extra tablespoon of melted butter per cup to bind the crust together.
How To Make Graham Cracker Crust For A 9x13 Pan
This homemade graham cracker crust recipe is designed for a 9 inch pie pan or springform pan. If you’re making a dessert that uses a 9x13” pan, you just need to double this recipe. If you look on the recipe card, you’ll see a white box for servings. (Marked "crust".) Change that to 2 and it will change the ingredient amounts to make a crust for a 9x13 pan.
This creates enough to create a graham cracker crust for a 9x13 pan, and also completely climb the sides. If you only need the bottom of the pan to be covered, only half again the recipe.
What To Make with Homemade Graham Cracker Crust
Know that you know how to make graham cracker crust, try out one of these recipes to fill it up!
- Mile High S’mores Pie
- Tart Lemon Cheesecake with Meyer Lemon Curd
The Best Homemade Graham Cracker Crust Recipe
This is my favorite all-purpose graham cracker crust recipe because it is made without sugar. If you choose to use add in the optional sugar, it isn’t overpowering. It adds a little sweetness, but it focuses on the graham cracker flavor. Choose between granulated sugar and brown sugar depending on what you’re using the graham cracker crust for.
Want a printable grocery list for the best graham cracker crust recipe ever? Everything is listed in standard grocery store amounts. If no size is specified, even the smallest package will provide more than enough.
Thank you so much for stopping by!
Happy Cooking! 🙂
The Best Graham Cracker Crust
Ingredients
- 13 graham crackers
- 1 stick of butter
- pinch of salt
- ½ cup sugar, (optional)
Instructions
- Preheat the oven to 375 degrees.
- Place the graham crackers into a food processor a plastic bag. Pulse or use a rolling pin to crush the graham crackers until they are the same size. Measure them so you know how much butter you need. (It should be about 2 cups)
- Pour the graham cracker crumbs and sugar (optional) into a large bowl. Fold in one tablespoon of melted butter for every ⅓ cup of graham cracker crumbs. Mix until the crumbs are evenly coated and firmly hold together when squeezed. If they are still too loose, add a tablespoon of water (see note).
- Use a paper towel to spread the rest of the melted butter inside a 9 inch pie pan or springform pan. Make sure to get the sides.
- Use the bottom of a measuring cup or glass and press firmly pack to the crumb mixture down. If you work from the middle out, the graham cracker crumbs should naturally climb up the sides of the pan. Use the sides of the cup to make sure those are firmly packed as well.
- Place the pan onto a baking sheet and bake the crust in the preheated oven for 8 to 10 minutes. It is done when it begins to smell toasted and is lightly golden brown. Remove and let cool for at least 30 minutes before filling.


What are your thoughts?