
Make better cookies, cakes, and other baked goods by learning the technique for how to cream butter and sugar. The creaming method is simple, but extremely important for texture and quality.
Note: This post was updated on December 23, 2018 with new pictures and content for your enjoyment.
The creaming method is used to make baked goods that are airy, fluffy, and smooth. It is most commonly used for recipes like cakes, cookies, cheesecake, brownies, and even some pie fillings.
What Is The Creaming Method?
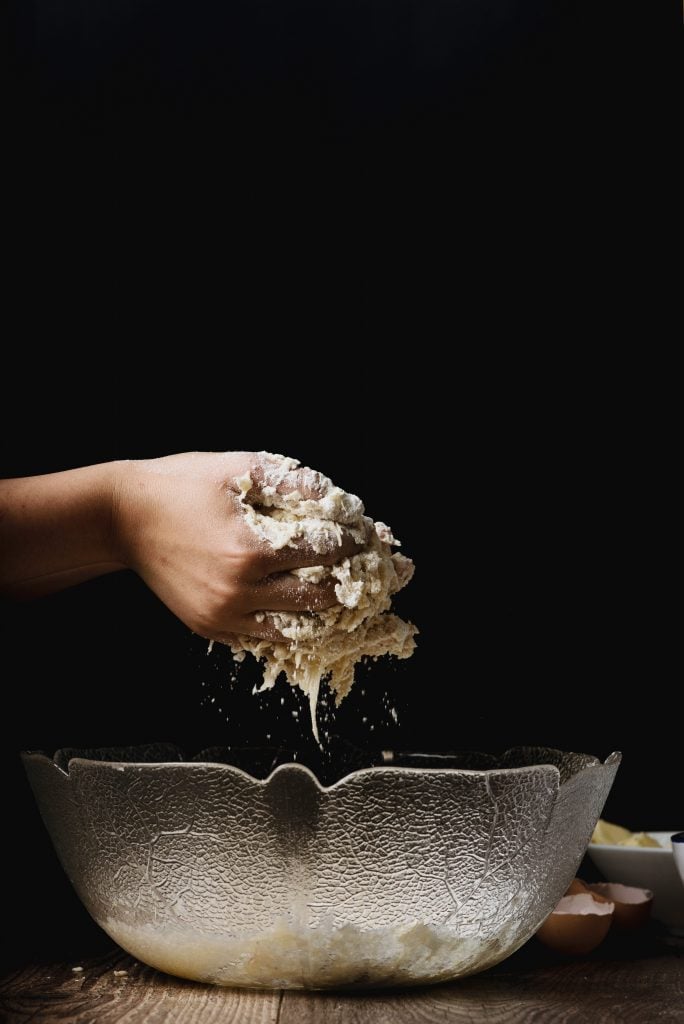
Simply explained, the creaming method is when you cream butter and sugar together to create a fluffy, soft, and airy mixture. It is most commonly used when baking, and the dry ingredients are added after the butter and sugar are combined.
Why Cream Butter and Sugar First?
The creaming method is an important foundation because it decides how fluffy you baked goods will be. It also greatly determines the texture. Due to the repetitive beating, the creaming method is great for making foods that you want to have a fine texture. (Also known as “crumb”.) It breaks down the ingredients into small particles.
Can I Cream Butter and Sugar By Hand?
It is definitely more convenient to use an electric mixer, but you can use a whisk and mixing bowl for the creaming method. (Don’t use a wooden spoon, it won’t incorporate enough air.) It takes longer to do, but focus on getting your butter and sugar mixture to double in size and be a faint light yellow in color.
What Speed Do I Cream Butter and Sugar At?
If you are using a hand or stand mixer, you should never go above medium speed when creaming butter and sugar. When your mixer is too fast, too much air will incorporate. When it is too slow, the butter and sugar will never fully incorporate or become light and fluffy. Use the paddle attachment and choose the first speed that throws the butter around the bowl. This “throwing” is what allows the air to incorporate.
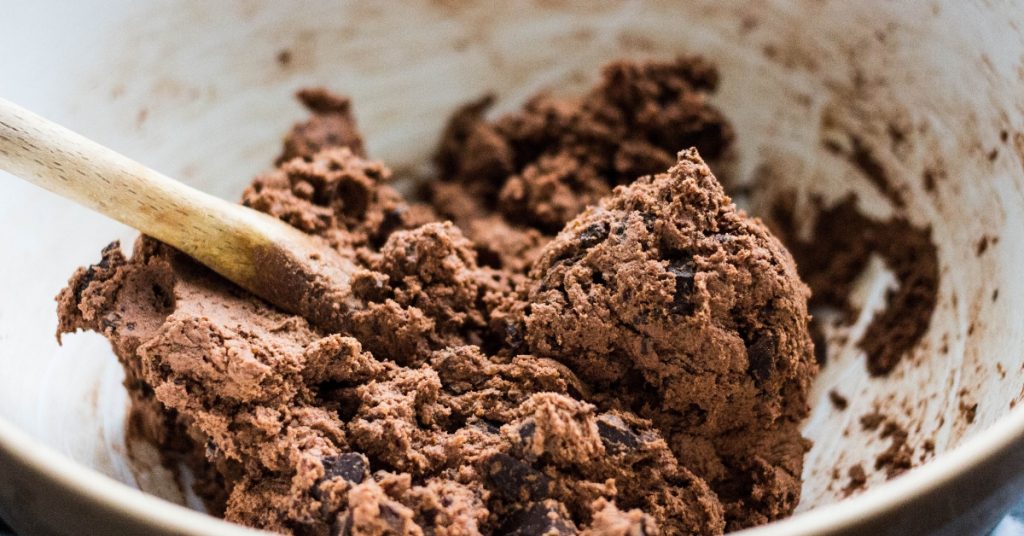
The longer you cream you ingredients, the more air gets incorporated. This helps with texture and with how much your ingredients will rise. If you want to have a really fluffy or airy cake, cream the butter and sugar for AT LEAST 3-5 minutes. Ideally, so much air should be incorporated that it looks like it has doubled in size. If you are going for a chewy texture (think brownies or cookies) you only need to cream the ingredients until they are well blended.
How To Cream Butter and Sugar: The Creaming Method Procedure
When you see a recipe that uses the creaming method, the procedure should follow this general procedure:
- Combine. Add the sugar to ROOM TEMPERATURE butter. Beat the butter and sugar until combined. If you want a chewy texture, stop creaming here. If you want an airier, more cake-like texture, continue beating the butter until it is light and fluffy. It should be a pale yellow in color.
- Eggs. Add the eggs one at a time, until each are mixed in with the creamed butter and sugar. (For an in-depth explanation of why it is important to incorporate the eggs one at a time, see my article HERE.)
- Liquid Ingredients. Scrape down the side of the bowl and dd the liquid ingredients. This could be extracts, milk, cream, etc...
- Dry Ingredients. Scrape down the sides of the bowl again and mix in your sifted dry ingredients until a smooth dough/batter is formed.
- Bake. Cook the mixture according to your recipe instructions.
This is almost always the technique for making cookies, brownies, and cheesecakes. Standard cakes however like to throw in some challenges. They like to alternate between adding the liquid and dry ingredients. This is called combining by halves or thirds. To learn more about this method, follow me HERE.
Practice Makes Perfect
If you would like to try some recipes that use the creaming method, here are some I recommend:
- Brown Butter and Toffee Shortbread Cookies
- Blood Orange & Edible Flowers Pound Cake
- Chewy Almond Sugar Cookies
Happy Cooking! 🙂
Jenn says
Another awesome post. I've always felt a bit out of sorts cooking and baking so really loving the cooking methods posts that you've been sharing. Each one makes me feel a bit more confident.
Mackenzie Ryan says
I'm so happy to hear that, Jenn. Helping people gain Kitchen Confidence is the whole goal of this blog - I'm glad it's helping 🙂
Daisy says
Wonderful as always, Mackenzie! I do a lot of creaming at work (used to develop recipes at my first job before getting promoted) but there's so much I didn't know about it. Thanks for sharing!
Mackenzie Ryan says
Thank you, Daisy. How fun that you got to develop recipes! I would have loved that job! 🙂
Razena says
Another great instructional post... exactly what my mother taught me by her example 🙂
Mackenzie Ryan says
Sounds like you have a very knowledgeable and talented cook for a Mother! How awesome! 🙂